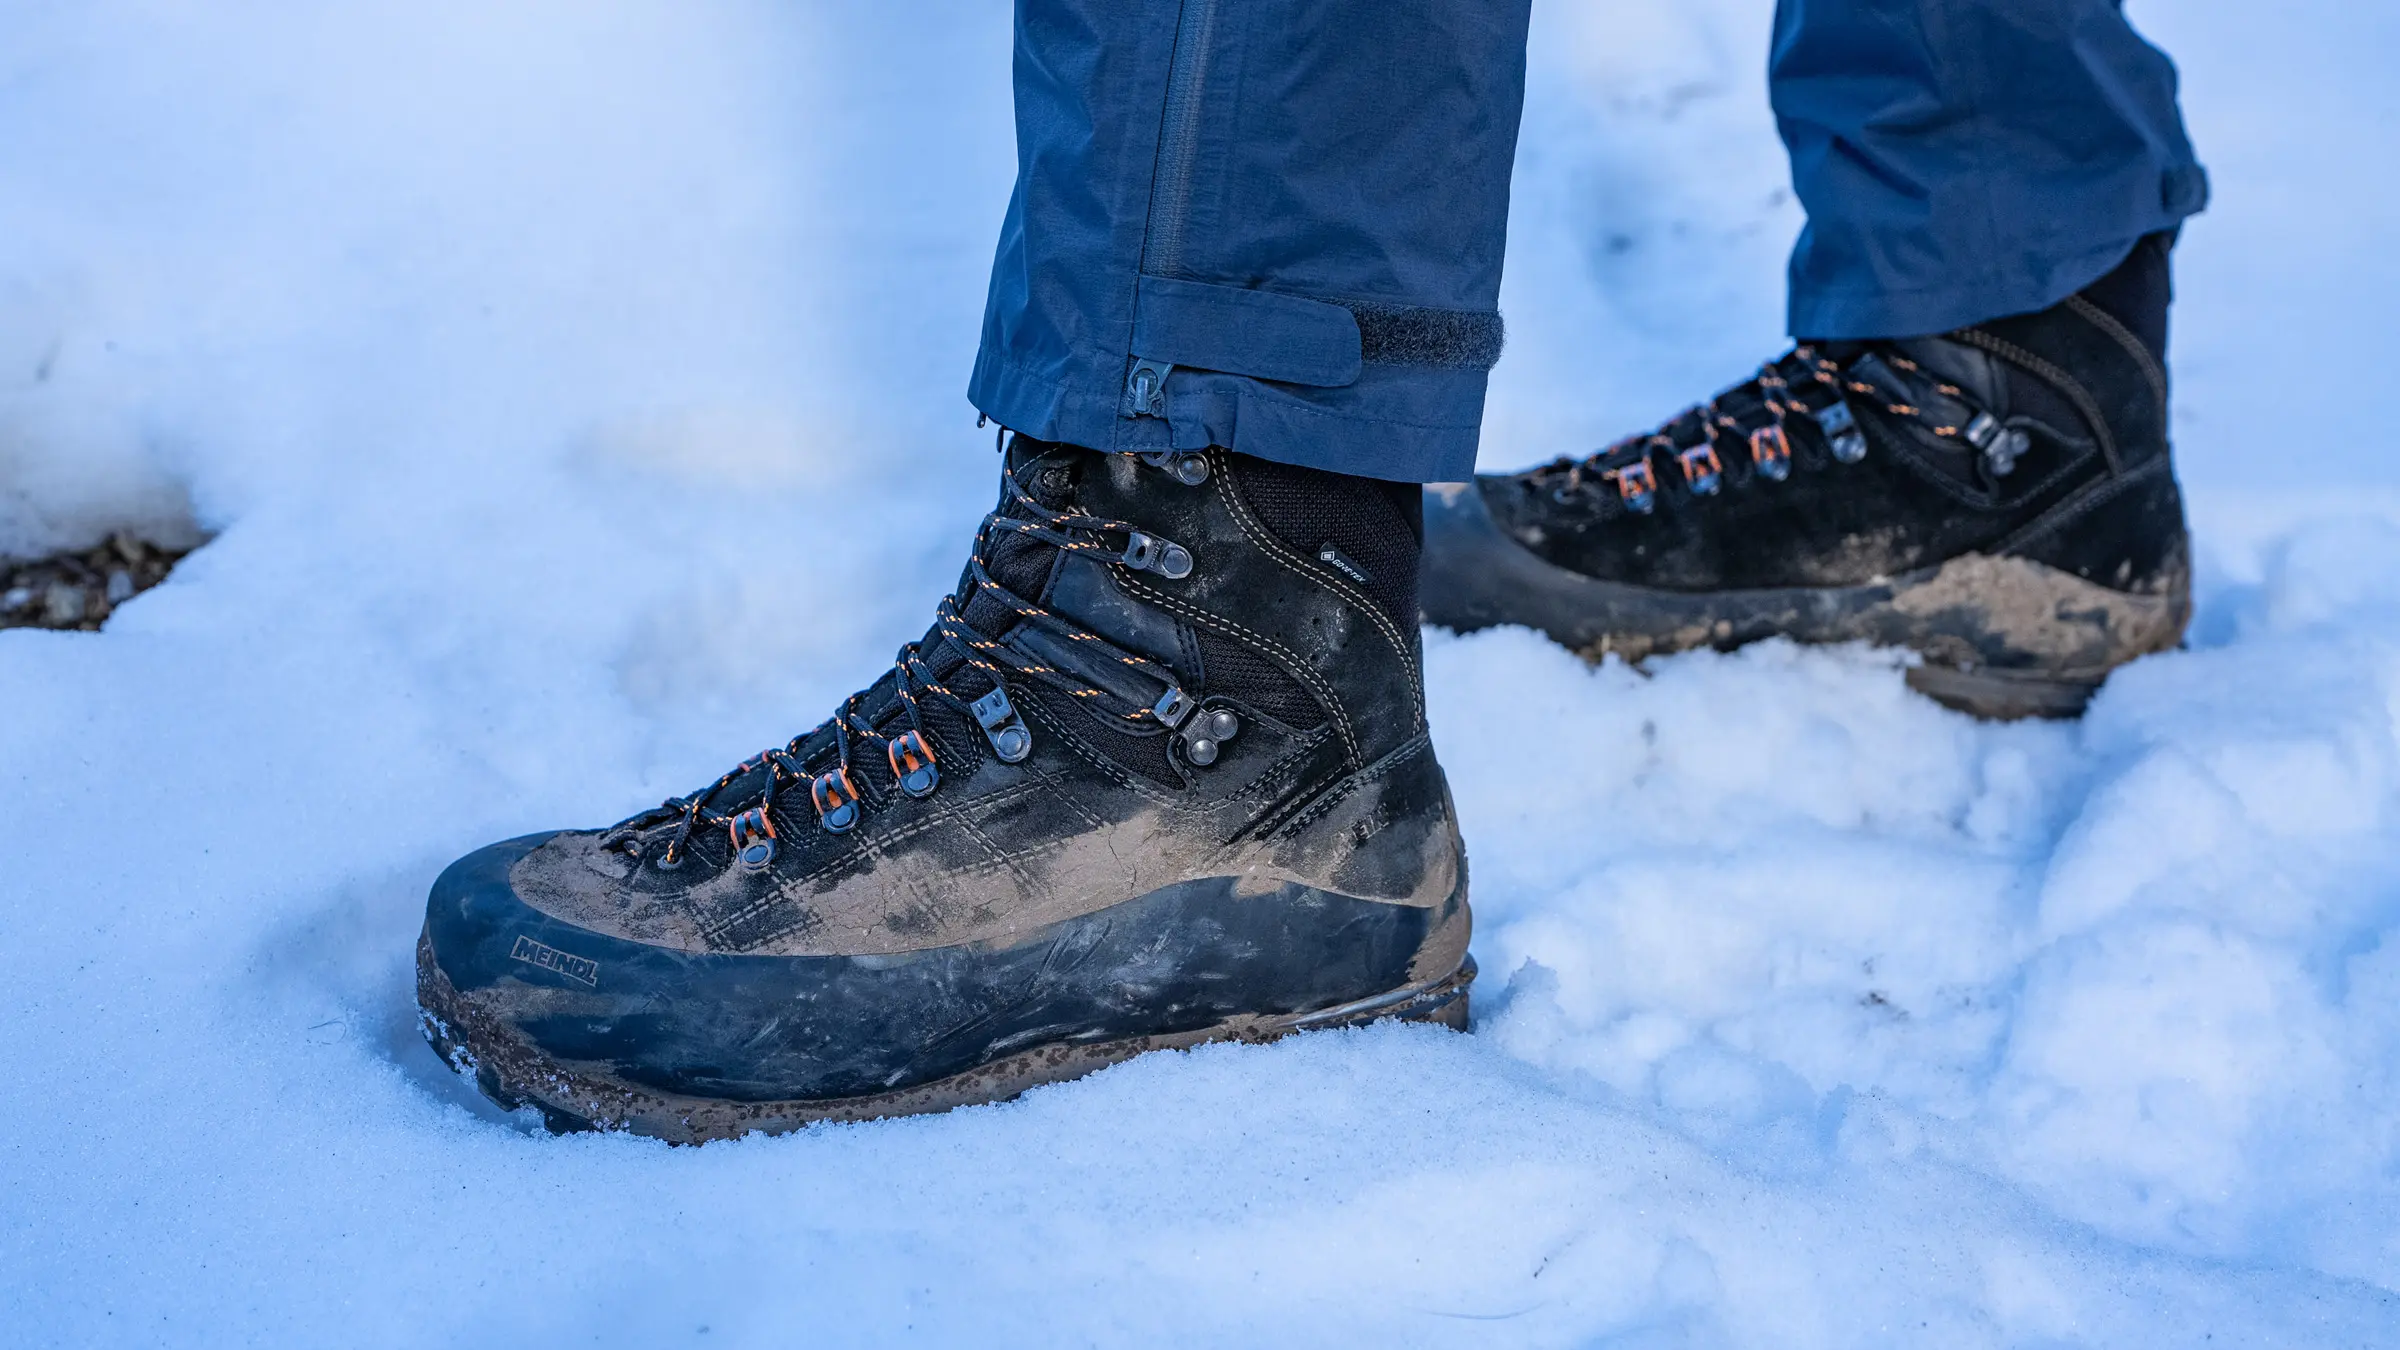
Winter trekking is the ultimate fourth-quarter test. Snow, slush, creek crossings that look frozen until they are not, and that sneaky cold that finds the smallest leak and turns it into a full-body mood swing. When your boots fail in winter, it is not just uncomfortable. It is a pace killer, a blister factory, and sometimes a safety issue.
The good news: keeping boots waterproof and winter-ready is mostly about a consistent routine, not fancy tricks. Clean them right, dry them patiently, apply the correct treatment for your boot material, and keep the little stuff like seams, tongues, and laces from becoming the weak link.
Know what you are working with
Before you buy a product or start scrubbing, identify your boot’s upper material and waterproof system. Waterproofing treatments are not one-size-fits-all, and the wrong choice can reduce breathability or shorten the life of the boot.
Also: check your manufacturer’s care notes. Some leathers have special finishes, and some brands recommend specific products (or specifically warn against others).
Common boot types
- Full-grain leather: Durable, supportive, and treatable. Needs conditioning plus waterproofing.
- Nubuck or suede leather: Softer, fuzzy finish. Needs specialty products that preserve texture and breathability.
- Synthetic (nylon/polyester with overlays): Dries faster, often lighter. Usually best with spray-on DWR style treatments.
- Waterproof membrane boots (Gore-Tex and similar): The membrane is inside, but the outer material (leather or fabric) still needs care and DWR so the boot does not wet out and feel cold and heavy.
Quick test: If water darkens the outside and soaks in quickly, your exterior water repellency is gone. Even if your membrane still prevents a full leak, wetting out can make your feet feel colder and your boots feel significantly heavier.
Step 1: Clean like you mean it
Waterproofing over dirt is like taping an ankle over a sweaty sock. It might hold for a bit, but it will not last. Mud and trail grit also grind down stitching and can block breathability.
Basic cleaning routine
- Remove laces and insoles. This opens the tongue gusset area where leaks love to start.
- Rinse with lukewarm water. Avoid blasting hot water, which can dry leather and loosen adhesives over time.
- Brush off grit. Use a soft boot brush or old toothbrush for seams, eyelets, and the welt.
- Use a boot-specific cleaner when needed. Mild cleaners are better than harsh household detergents that strip oils and finishes, especially for leather.
- Rinse again lightly. Leftover cleaner can interfere with waterproofing adhesion.
Locker-room rule: If your boots smell like a science project, wash the insoles separately and let everything dry fully. Odor often comes from bacteria in damp foam, not the boot itself.
Step 2: Dry them the right way
Winter care is where patience wins. Too much heat can crack leather, warp midsoles, and weaken glue. Too little airflow leaves moisture trapped where it matters most: around seams and underfoot.
Drying best practices
- Air dry at room temperature. Pull the tongue forward to vent the interior.
- Stuff with paper. Newspaper or plain paper helps wick moisture. Replace it once it gets damp.
- Avoid high, direct heat. No fireplaces, no boot-on-the-heater moves, no heat gun energy. If you use a boot dryer, use a low, gentle setting designed for footwear.
- Dry insoles separately. They hold more water than you think and can keep the boot damp.
Timing: Many boots need at least overnight to dry, and often 24 hours or more after a truly wet outing. Materials, insulation, humidity, and airflow all change the clock. If you rush this step, waterproofing products do not bond evenly, and you trap moisture that can lead to odor and liner breakdown.
If you are back-to-back hiking: Strong airflow plus gentle warmth nearby (not blasting the boot) can be a reasonable compromise. The goal is steady drying, not cooking the materials.
Step 3: Pick the right treatment
Think of waterproofing like a game plan. You choose based on your personnel. Leather wants nourishment and protection. Synthetics want a surface repellent that restores the factory DWR behavior.
Compatibility matters: Not all sprays and coatings are the same (water-based, silicone-based, and other formulas). Follow product and boot-maker directions, especially for nubuck, suede, and mixed-material uppers.
For full-grain leather
Use: waxes, creams, or oil-based treatments made for hiking boots. Many products combine conditioning and water resistance.
- Wax or cream: Great water beading and longevity, can slightly reduce breathability if overapplied.
- Leather conditioner: Helps prevent cracking and keeps the upper supple, especially after salty slush exposure.
Watch out: Heavy oils can overly soften some boots and reduce support. For stiff backpacking boots, stick to products marketed for hiking footwear, not general leather oil meant for work boots.
For nubuck and suede
Use: nubuck-friendly sprays and cleaners. Waxes can mat down the texture and change the feel and look permanently.
- Spray-on waterproofers: Usually the best balance of protection and breathability.
- Brush after drying: A nubuck brush can restore the nap.
For synthetic uppers and membrane boots
Use: spray-on DWR treatments designed for fabric and mixed-material boots.
- Why spray: It coats the textile evenly and preserves breathability better than heavy wax.
- Why membranes still need it: The membrane is inside, but the outer fabric or leather can soak up water. A refreshed DWR keeps the exterior from wetting out so the boot stays warmer and dries faster.
Step 4: Apply it right
This is the part where most people fumble, usually by applying too much product or applying it to a boot that is still dirty or damp in the wrong way. Aim for even coverage and attention to leak zones.
Wax or cream application (leather)
- Start with clean, mostly dry boots. Some products spread best on slightly damp leather, but only do that if the label says so. Do not apply to soaked boots.
- Work in small sections. Use fingers, a cloth, or a sponge applicator.
- Hit the seams and flex points. Toe crease, heel counter area, and around the tongue gusset.
- Let it absorb. Follow product timing, then buff off excess so dirt does not stick like Velcro.
- Second coat only if needed. Two light coats beat one heavy coat every time.
Spray application (synthetic, nubuck, suede, membranes)
- Clean and dry boots first. Surface water blocks bonding.
- Spray evenly from recommended distance. Usually 6 to 8 inches.
- Focus on high-wear zones. Toe box, sides, and the lower lace area where snow rubs.
- Let cure fully. Most sprays need several hours, sometimes overnight.
Leak-zone checklist: If your boot leaks, it is often not the big panels. It is the tongue gusset stitching, the seam where overlays meet fabric, or around the toe rand where abrasion is constant.
Breathability reality check: If you over-wax or over-coat a boot, you can trap sweat. That internal condensation can feel like a leak. If your socks are damp but the boot never took on water from the outside, scale back the product next time and prioritize airflow and moisture-managing socks.
Winter extras
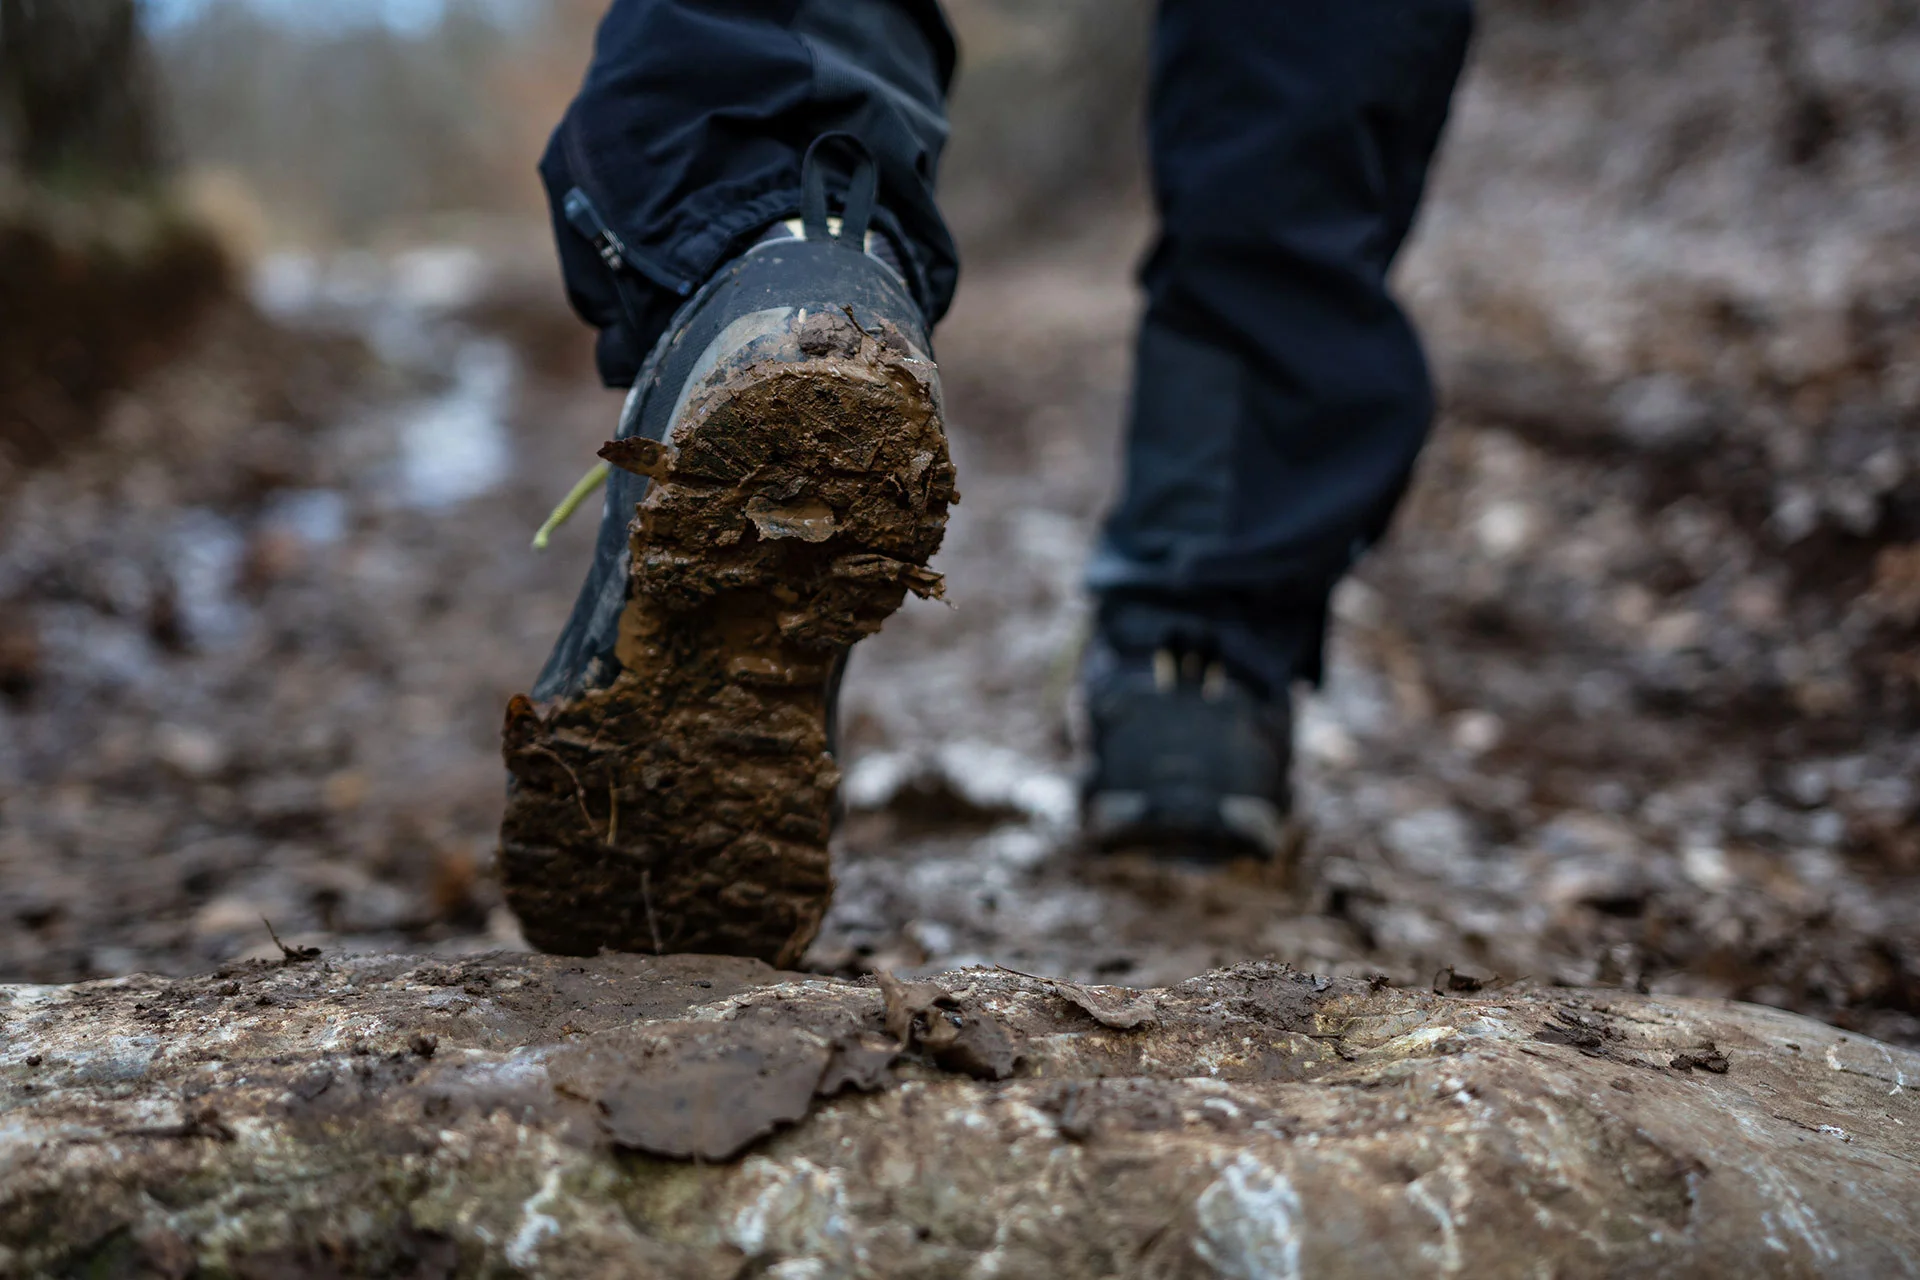
Winter is not just wet. It is abrasive and chemically nasty. Road salt and de-icers can dry out leather and stain uppers fast, and packed snow can turn lugs into slick pancakes.
Salt and slush care
- Rinse after salted walks. A quick wipe with a damp cloth helps prevent salt lines and leather drying.
- Condition leather more often. If you are in slush weekly, a light conditioning cycle every few weeks can keep leather from cracking.
- Do not store wet in a cold car. Freeze-thaw cycles stress materials and can delaminate adhesives over time.
Traction tune-up
- Clean the outsole lugs. Use a stick or brush to remove packed mud and stones.
- Check for uneven wear. If heels are rounded off, you are losing braking power on descents.
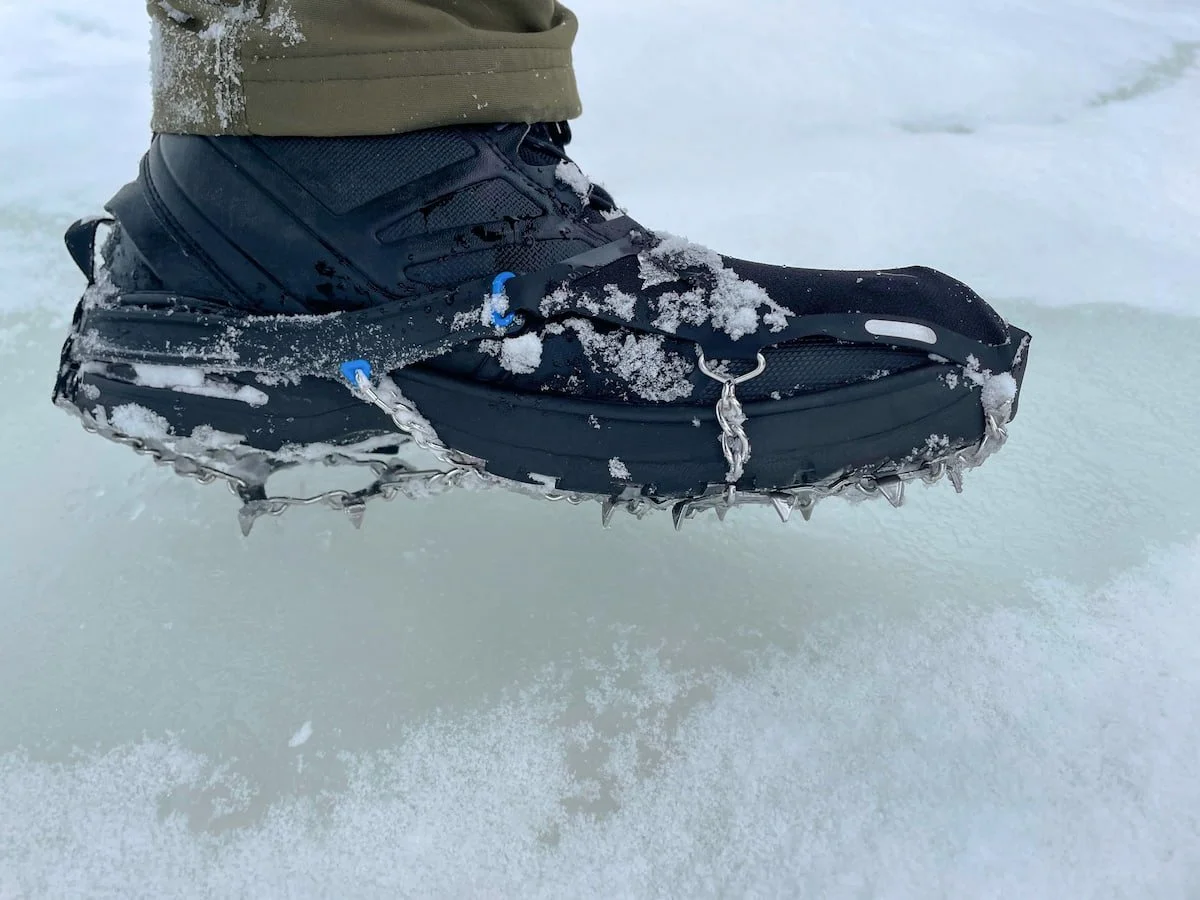
- Consider microspikes. On true ice, no lug pattern beats metal teeth. This is gear, not bravado.
Gaiters and socks
- Gaiters: Help keep snow out of the cuff and reduce abrasion and wetting at the lower laces.
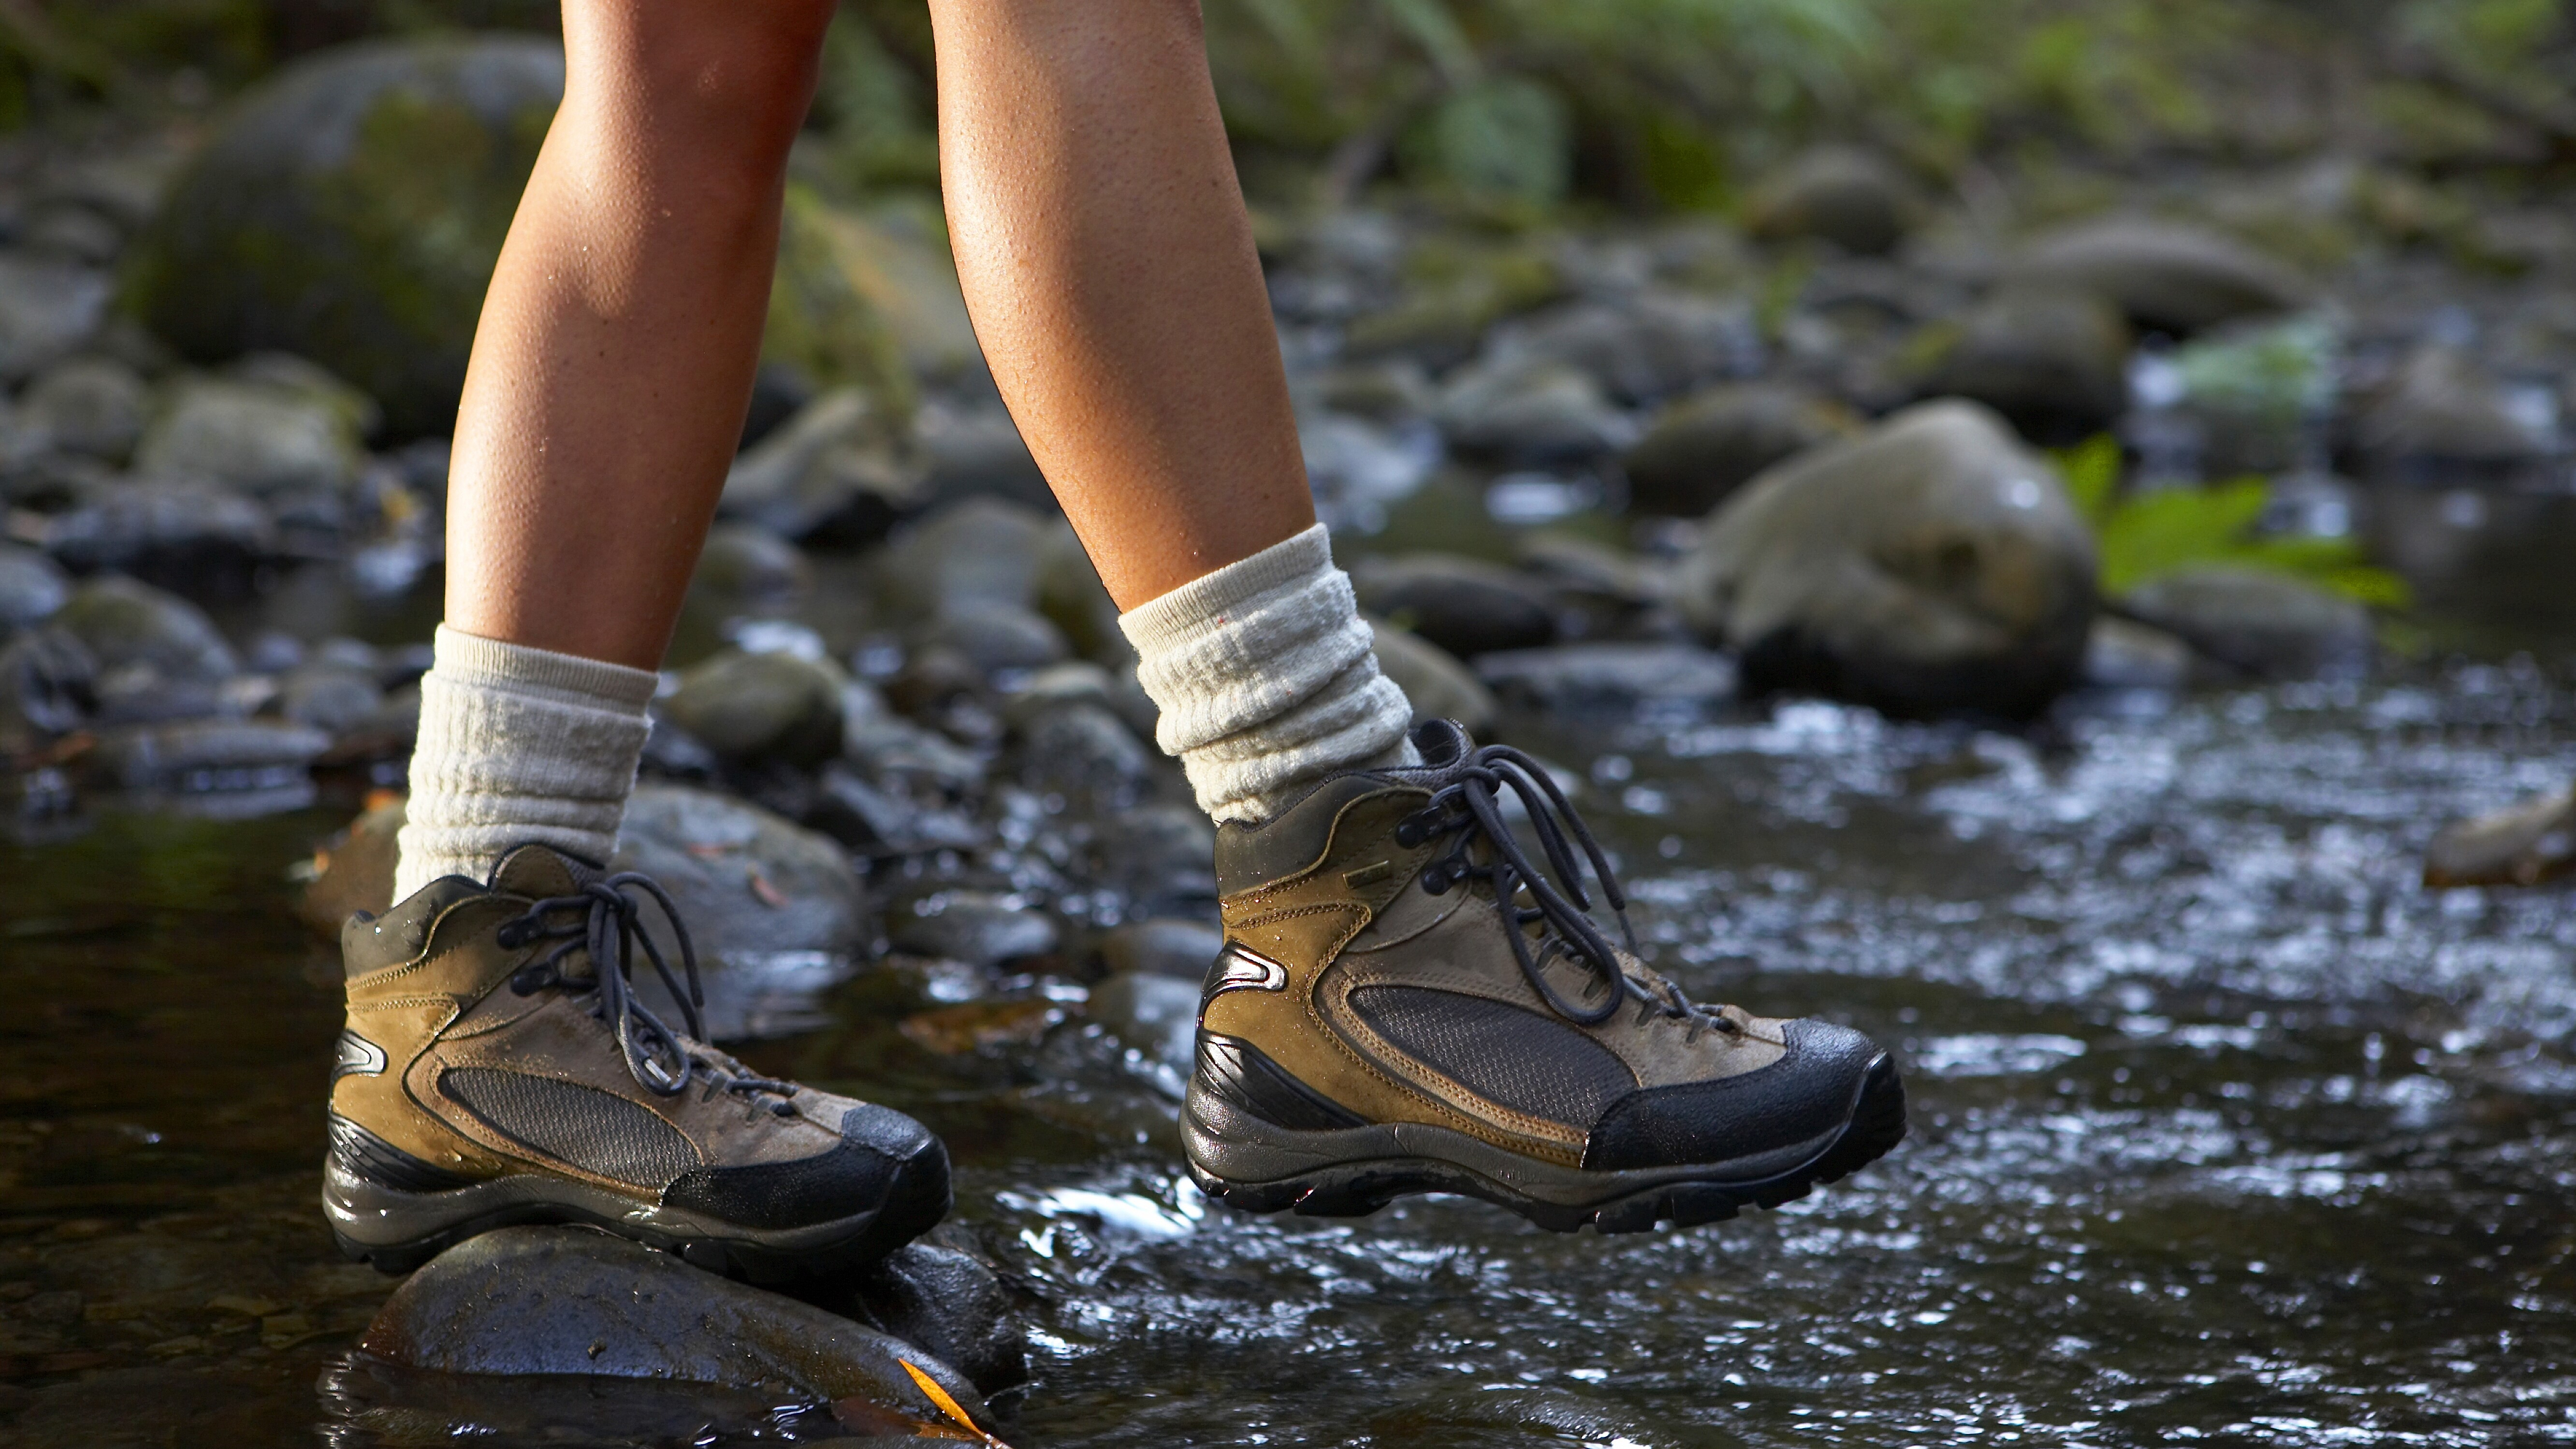
- Socks: Waterproofing handles outside water. Socks handle inside moisture. Wool or quality synthetics keep warmth when damp and help reduce that cold, clammy feel.
Maintenance schedule
Consistency beats a once-a-year deep clean. Here is a simple cadence that works for most weekend warriors and winter grinders.
After every winter hike
- Knock off snow and mud
- Wipe salt and slush
- Air dry with insoles removed
Every 3 to 6 outings (or when water stops beading)
- Full clean
- Reapply spray DWR for synthetics and membrane boots
- Spot-treat seams and flex points
Monthly in heavy winter use
- Condition full-grain leather lightly
- Inspect stitching, eyelets, and tongue gusset
- Check outsole wear and lug clogging
Rule of thumb: If the boot looks thirsty, it is. If the boot feels heavy after snow, it is wetting out. Treat it before the next outing, not after it fails mid-hike.
Storage and reset
The season ends, but your boots remember how you treated them. Store them wrong and you start next winter already behind on the scoreboard.
How to store boots
- Clean and dry completely. Never store damp boots in a bin.
- Loosen laces. Reduces stress on eyelets and tongue gussets.
- Cool, dry place. Avoid direct sun and hot garages.
- Use boot trees or stuff lightly with paper. Helps hold shape and prevents creasing.
Pre-winter check
- Inspect seams and rand for separation
- Check the insole for compression and odor
- Test water beading on the toe and flex point
- Replace laces if frayed
Still leaking?
If you cleaned, dried, and treated correctly and you still get wet feet, it might not be a simple waterproofing issue. A topical product cannot fix a structural failure.
Common causes
- Torn membrane or liner wear-through: Often shows up at the toe crease or heel.
- Seam tape delamination: Interior seam tape can peel over time.
- Rand separation: That toe bumper edge takes a beating and can open a gap.
- Gusset failure: A worn or partially detached tongue gusset is a classic leak point.
- Internal condensation: Over-waxing, overdressing, or just a hard hike can leave socks wet from sweat, not creek water.
What to do: If leaking persists, look into a repair, resole, or warranty claim. And if you are heading into serious cold with questionable boots, call the audible and swap pairs. That is a safety decision, not a pride decision.
Mistakes to avoid
- Applying treatment over dirt: It seals grime in and reduces effectiveness.
- Overheating to dry faster: Cracks leather and weakens adhesives.
- Using the wrong product for the material: Waxing suede is a one-way door.
- Ignoring the tongue gusset: That is a top-three leak zone.
- Thinking waterproof means maintenance-free: Winter exposure eats coatings faster than fair-weather hiking.
Keep it simple: clean, dry, treat, repeat. Your boots will stay lighter, warmer, and more trustworthy when the trail turns into a cold, wet grind.