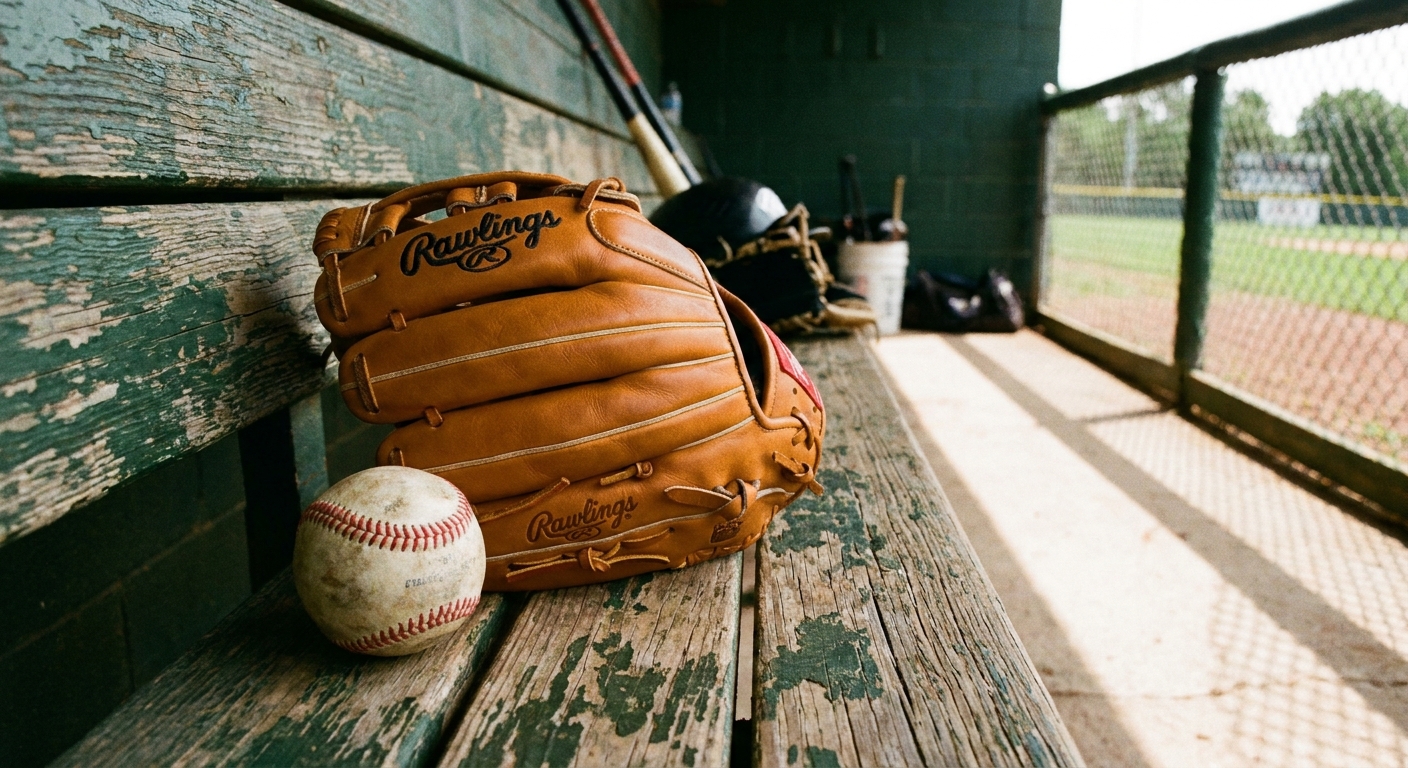
A new leather glove is one of the best smells in sports. It is also one of the easiest things to mess up if you rush it. I have seen every shortcut in the book in dugouts and garages, from soaking it in water to baking it in the trunk. Most of them work for a week, then you are stuck with a floppy glove, cracked leather, or a pocket that never holds shape.
This guide is the simple, repeatable routine I use and teach young players: clean it, condition it sparingly, shape it with intention, then let reps do the real breaking in. Your glove will last longer, feel better, and play cleaner when the game speeds up.
Quick note: glove leather and build varies (steerhide vs kip, stiff pro models vs game-ready). Use this as a baseline, then check your glove maker’s care notes if they provide them.
What you need
You do not need a workshop full of products. You need the right few, used the right way.
- Soft microfiber cloth or clean cotton rag
- Soft-bristle brush (old toothbrush works) for seams and laces
- Glove conditioner made for baseball gloves (a light cream or balm)
- Baseball (or softball, depending on your glove)
- Glove mallet (nice to have) or the heel of your hand
- Wide rubber bands or a cloth strap for storage
Generally avoid: heavy oils, petroleum jelly, shaving cream, and dunk-it-in-water methods. Some players and shops use controlled steam or specific products with success, but if you are not sure, follow the glove maker’s recommendations. Over-oiling adds weight and can soften the structure so much that the glove breaks down early.
Step 1: Clean it first
Even a brand new glove can carry dust from the factory and shipping, plus whatever ends up on it from try-ons at the store. If you condition over grime, you are basically sealing it in.
Quick cleaning routine
- Dry wipe: Use a dry microfiber cloth to wipe the entire glove, including the palm, back, and web.
- Brush the details: Use a soft brush on stitching lines, around the web, and along the lace channels where dirt loves to hide.
- Spot clean if needed: If you have visible scuffs or dirt, slightly dampen the cloth with water and wipe gently. Do not soak. Leather and saturation do not mix well.
- Air dry: Let the glove sit at room temperature for 20 to 30 minutes before conditioning.
Step 2: Condition sparingly
Conditioner is not a shortcut to a broken-in glove. It is maintenance that helps keep leather from drying out and cracking while you shape it. Too much conditioner is the classic mistake, especially with parents trying to help a kid get game-ready fast.
How to apply conditioner
- Start small: Use a dime-sized amount. You can always add a touch more.
- Warm it in your hands: That helps it spread evenly.
- Hit the flex points: Pocket, heel, and the hinges where the glove closes (thumb hinge and pinky hinge). Add a light pass along the web.
- Keep structure where you need it: Go easy on the fingers and the outer shell so they stay firm.
- Buff it off: After 10 minutes, wipe the glove with a clean cloth so it is not tacky.
- Let it rest: Give it a few hours, ideally overnight, at room temperature.
Rule of thumb: your glove should look healthy, not shiny and wet. If it feels greasy, you used too much.

Step 3: Shape it first
Here is the part most people skip. A glove does not just get softer, it gets trained. If you do not decide what you want the pocket to be, the glove will decide for you, usually at the worst time possible.
Pick your pocket style
- Infielders: often a shallower pocket for quick transfers. Some like it slightly toward the thumb, some like it more centered.
- Outfielders: usually a deeper pocket to secure balls at full sprint and on the warning track.
- Catchers and first basemen: follow the model’s intended pocket and focus on closing and receiving shape.
Where the pocket forms
For most fielding gloves, you want the pocket to form where the ball is meant to live, usually in and around the web and the pocket pad area. If the glove turns into a flat pancake that folds in the dead center every time, you can lose pop on hard hit balls. That said, pocket placement is personal, so build it where you catch the ball best, then train that spot on purpose.
Step 4: Reps and pounding
This is the fun part, and the part that actually works. Think of it like preseason conditioning. You can cheat a little, but you cannot skip the work.
The 15-minute daily routine
Do this for 7 to 14 days depending on how stiff the glove is.
- Play catch: 5 to 10 minutes. Start at short distance and focus on clean closes. Let the ball find the pocket.
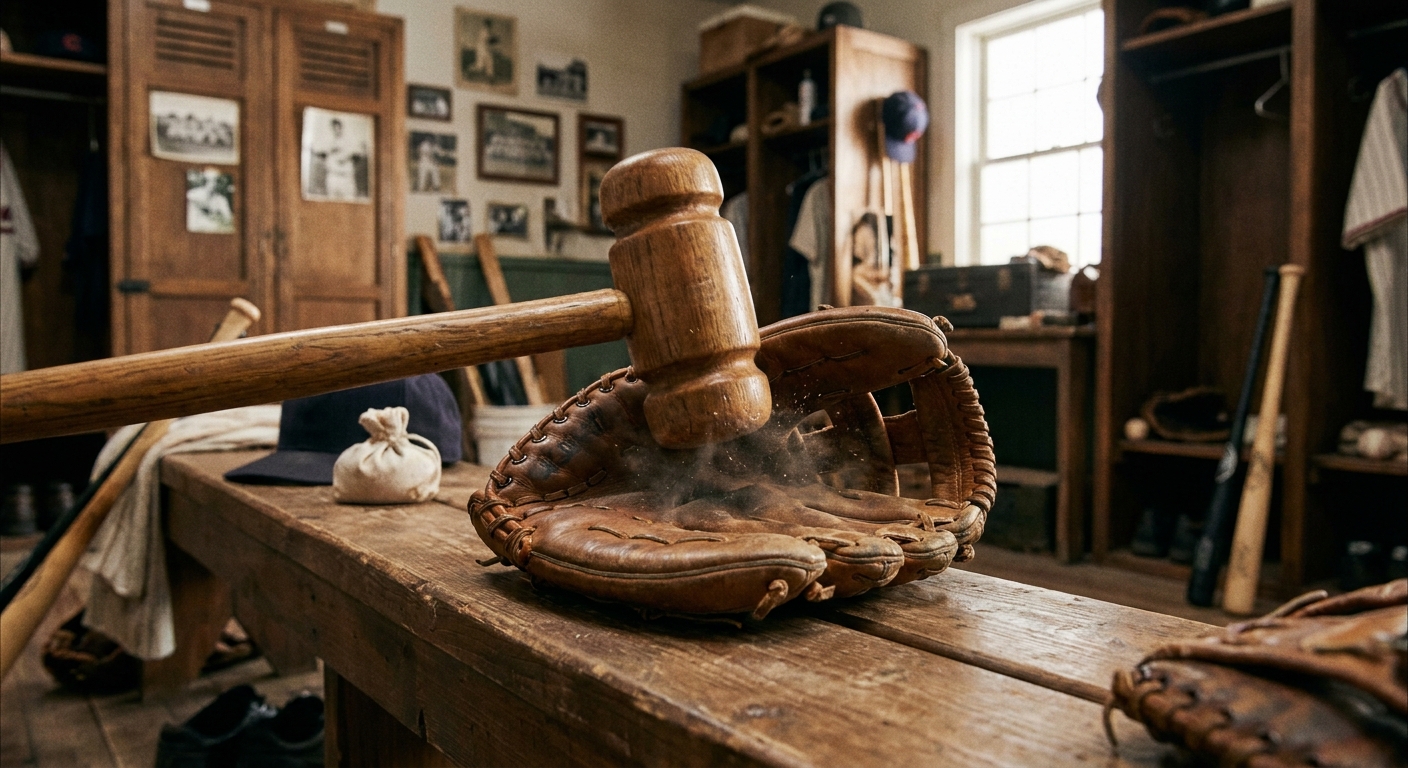
- Pound the pocket: Use a mallet or a ball in your throwing hand and tap the pocket and hinge points (thumb hinge and pinky hinge). Firm, controlled strikes. You are shaping, not destroying.
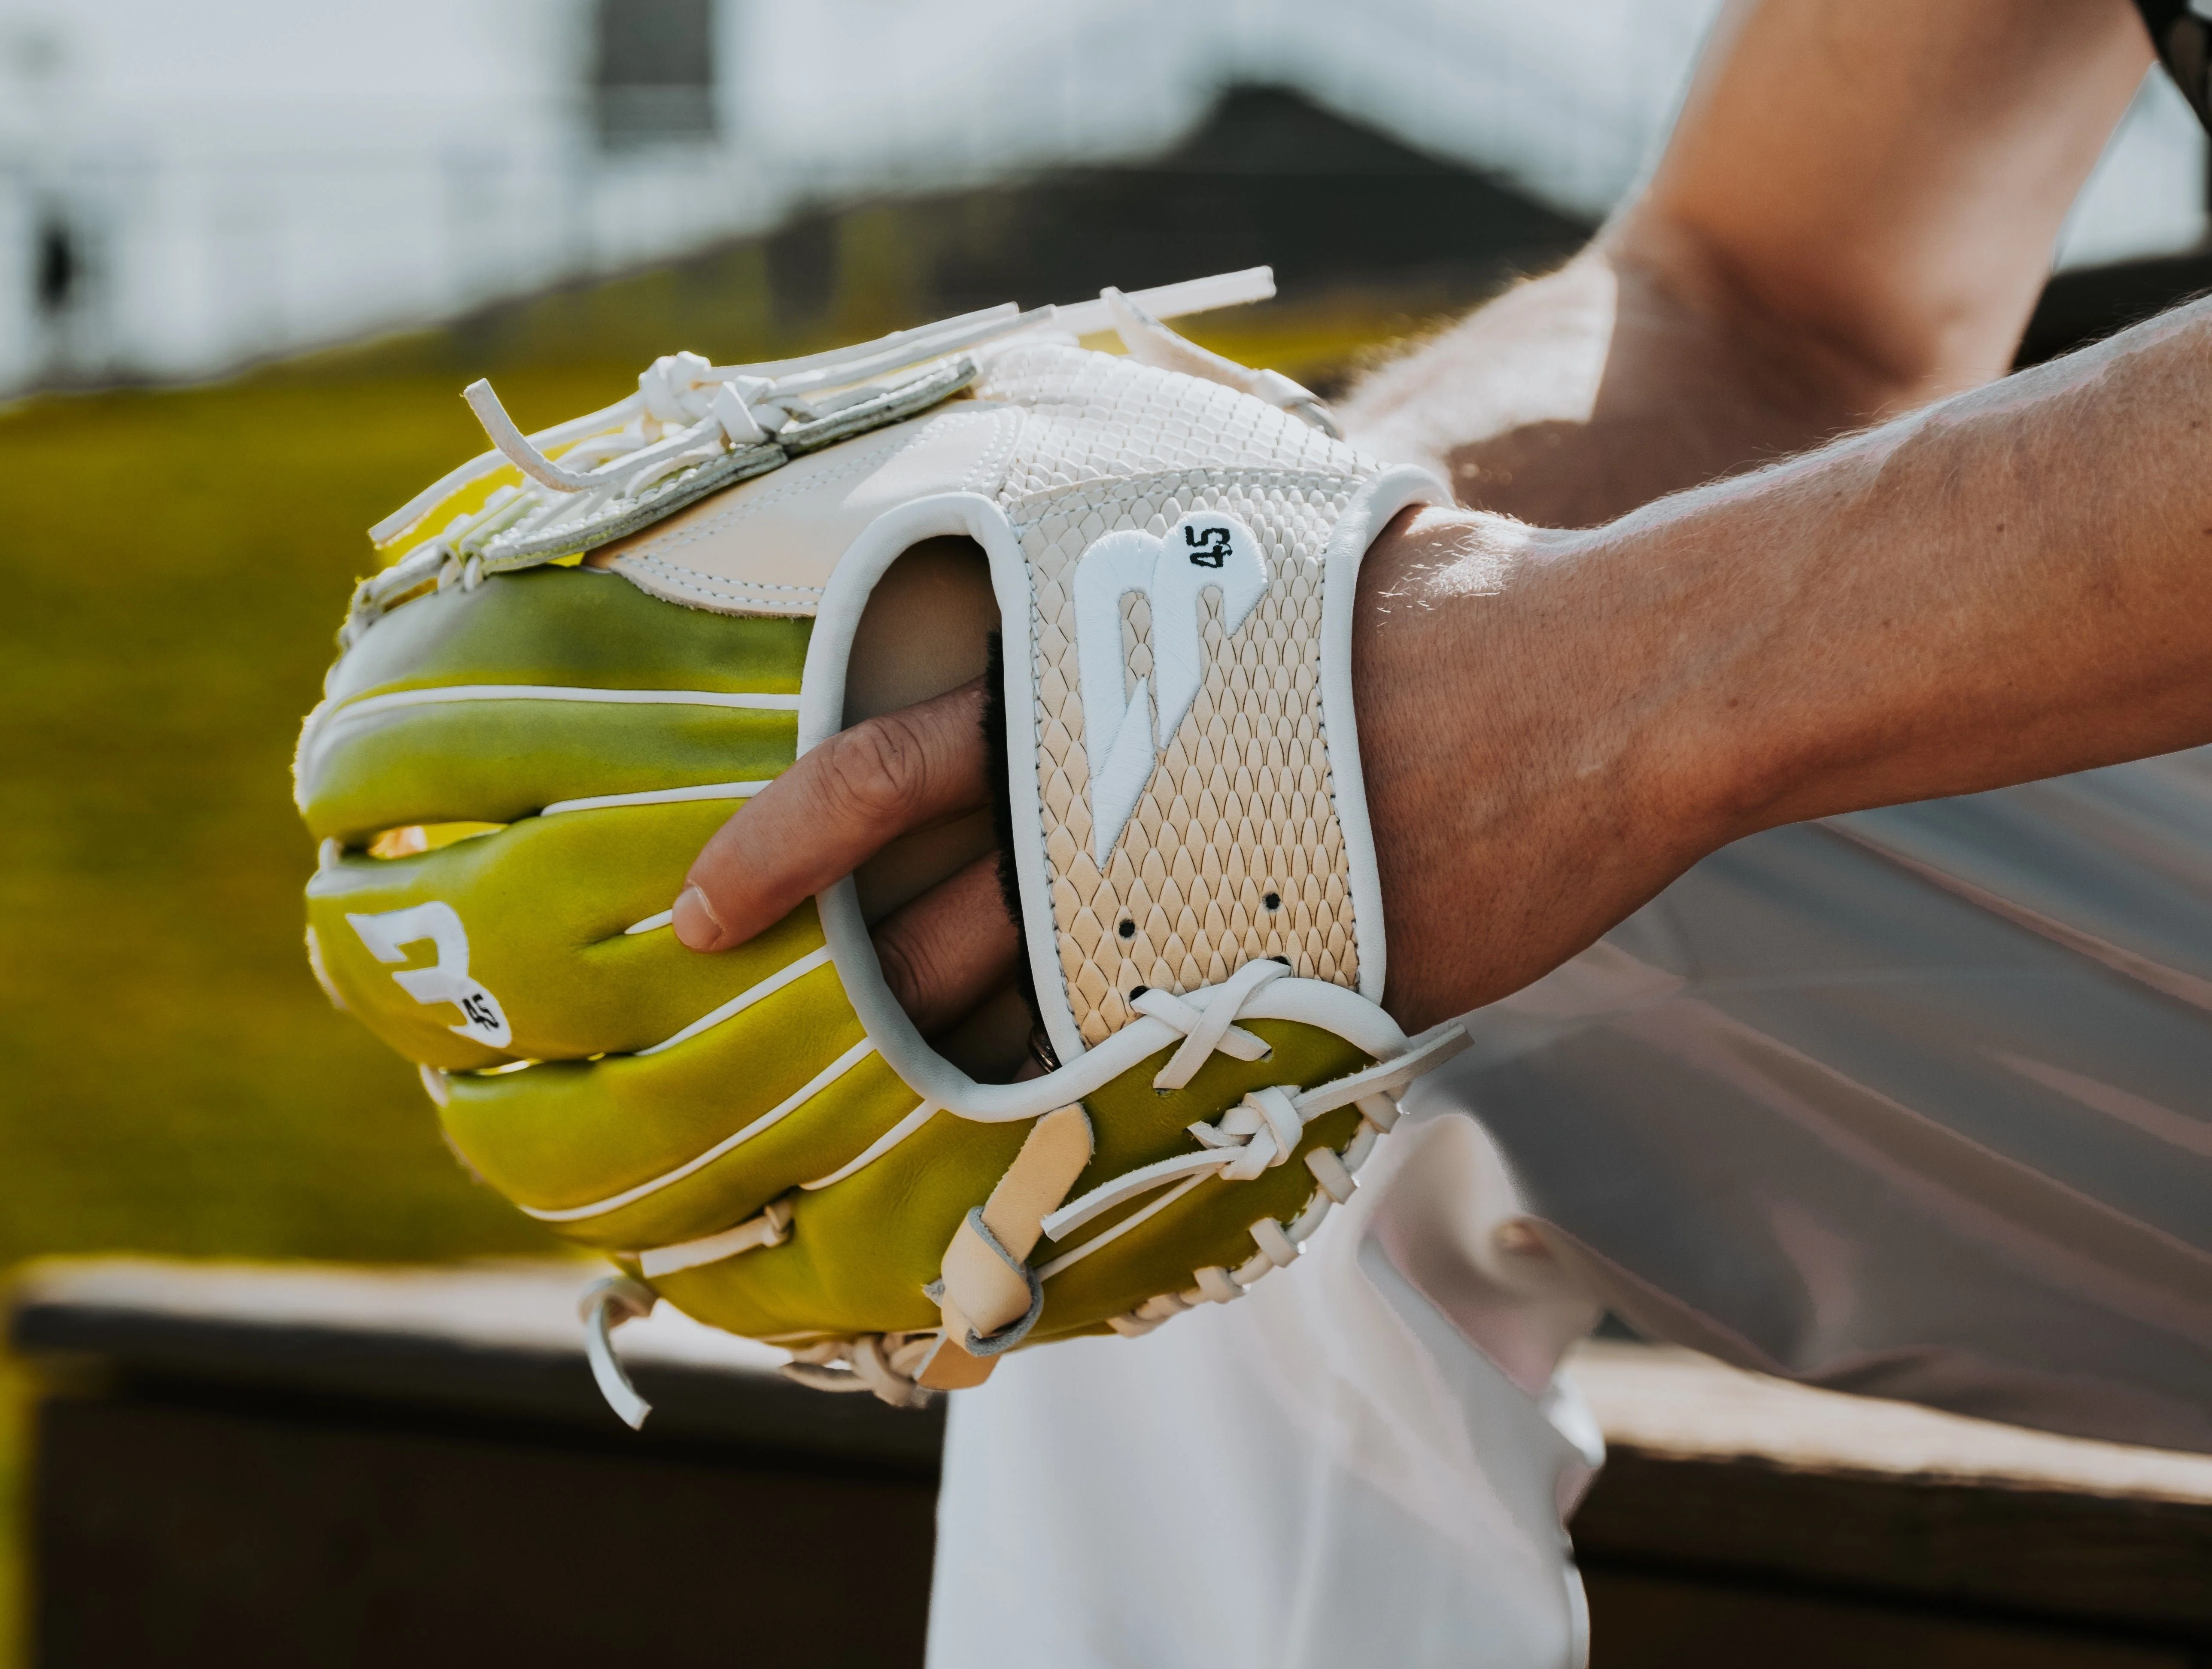
- Work the close: Open and close the glove 25 to 50 times, squeezing with your whole hand, not just fingertips.
- Pinch the hinges: Press and flex the thumb hinge and pinky hinge where the glove is designed to fold.
Safety tip: keep mallet strikes controlled, and avoid hammering lace knots, lace channels, or the edge binding. You want to break in the leather, not beat up the construction.
If you only have time for one thing, play catch. Real impact, real closes, real feedback. That is how gloves become extensions of your hand instead of stiff props.
How to close it
A lot of young players fold the glove straight down the middle. It feels natural at first, but it often creates that flat, unreliable pocket.
Better closing technique
- Use the hinges: think thumb-to-pinky close so the glove folds along the thumb hinge and pinky hinge.
- Use your ring and pinky fingers: many players put two fingers in the pinky stall to help the glove close stronger and form a better pocket.
- Keep the fingers tall: do not crush the finger stalls backward. That is how you end up with floppy fingertips.
If you are a coach or parent, watch the glove from the side. You want it to close like a door, not fold flat.
Fast methods: safe vs risky
Everyone wants the glove ready by Saturday. I get it. I also get the heartbreak of spending good money just to cook the leather and shorten the glove’s life.
Generally safe shortcuts
- Warm room, not heat: leave it indoors at room temperature after conditioning, then work it.
- Short sessions, repeated: two 10-minute break-in blocks in a day beats one aggressive hour.
- Mallet work: effective and controlled.
Skip these
- Oven, microwave, hair dryer, heater vent
- Leaving it in a hot car
- Soaking in water
- Over-oiling to soften it
Why: heat pulls moisture and oils out of the leather and can dry it unevenly, which leads to cracks. Water can swell and warp padding and make the glove lose its intended shape as it dries.
How to store your glove
Most gloves do not die during games. They die in backpacks, trunks, and garage corners.
Game-ready storage habits
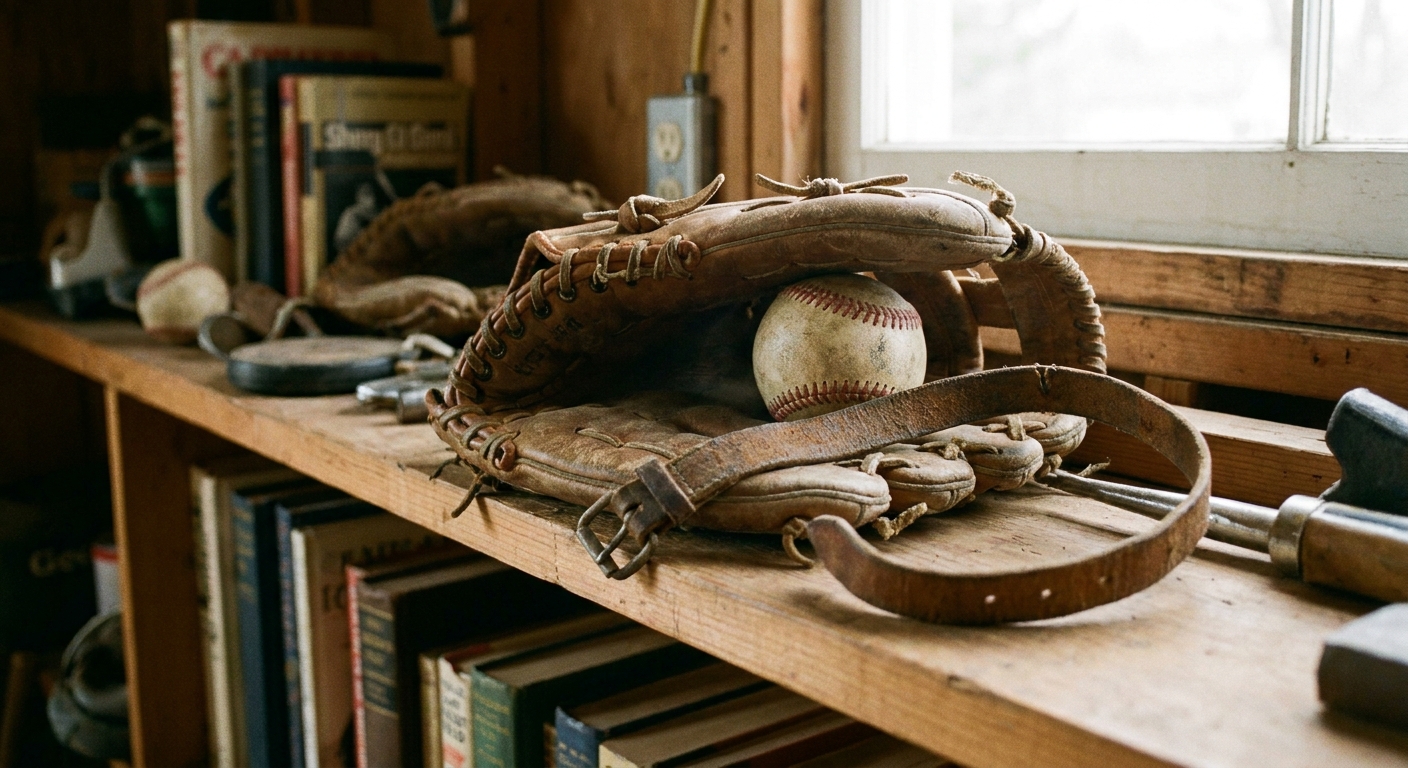
- Store with a ball in the pocket to preserve shape.
- Wrap it lightly with a glove strap or two wide rubber bands. Do not crank it down.
- Keep it dry and cool: room temperature, away from direct sunlight.
- Never store it flat under books or crushed under gear.
In-season care
Once your glove is broken in, care becomes small, consistent maintenance.
After games and practices
- Wipe dirt off with a dry cloth.
- Brush the laces and web if you play on dusty infields.
- Air it out before it goes back in the bag.
How often to condition
- General guideline: every 4 to 8 weeks during the season.
- Hot, dry climates or heavy use: every 3 to 4 weeks.
- Let the glove tell you: condition when the leather looks dull, feels dry, or starts to squeak or stiffen at the hinges.
Leather type matters. A stiffer pro model might feel thirsty less often, while a softer game-ready glove can dry out quicker. When in doubt, go lighter and less frequent.
Quick lace check
- Look for loose loops: especially around the web and heel.
- Check knots: if a knot is backing out, tighten it before it becomes a broken lace mid-game.
- Do not soak laces in oil: when you condition, a light wipe is enough, then buff.
Troubleshooting
Still stiff after a week
- Play more catch, even 5 minutes a day.
- Pound the hinge points (thumb hinge and pinky hinge), not just the pocket.
- Use a tiny bit of conditioner only if the leather feels dry, not just stiff.
Pocket in the wrong spot
- Reset the shape by placing the ball where you want the pocket, then wrap it loosely overnight.
- Pound that exact pocket spot for a few days.
- During catch, focus on receiving the ball in that area.
Feels heavy and greasy
- Wipe thoroughly with a clean dry cloth.
- Let it rest in a cool room for 24 to 48 hours.
- Next time, use about one-third the amount of product.
Laces look dry or frayed
- Lightly wipe laces when conditioning the glove, then buff.
- If a lace is cracking, stretched out, or slipping, get it tightened or relaced. A great glove is only as strong as its laces.
The takeaway
A glove break-in is not a one-night project. It is a relationship. Clean first, condition sparingly, shape with purpose, and let reps do the heavy lifting. The payoff is a pocket you trust when the ball finds you in a big spot, because it always does.
If you are breaking in a glove for a young player, make it a ritual. A little catch, a little care, a little patience. That is how gear becomes part of the memories.