A helmet is the one piece of winter gear that you cannot treat as “good enough.” If it is too loose, it can shift on impact and leave the wrong area exposed. If it is too tight, it turns a fun day into a headache marathon and you will start unbuckling it on the chairlift, which defeats the whole point.
The goal is simple: snug, stable, and comfortable with no hot spots, no wobble, and no goggle gaps. Here’s how to get there.
Start with the right helmet
Before sizing, make sure you are shopping in the right lane. Ski and snowboard helmets are built and tested for snow sports impacts and cold-weather coverage.
- Look for snow sport certifications: ASTM F2040 is common in North America. Many helmets also carry CE EN 1077 (Europe). Some helmets may list other standards (like EN 1078 for cycling), but that is not a substitute for a snow-specific standard.
- More certifications, more context: Multiple standards can mean a helmet was tested under different conditions or impact profiles, but it still does not guarantee “more protection” in every real-world crash. Treat certifications as a baseline, then focus on fit.
- Know the build: In-mold helmets are lighter and often better vented. Hard-shell helmets tend to be a bit heavier but can feel more durable in park and daily use. Fit matters more than shell style.
- MIPS and similar systems: If your budget allows, rotational impact tech (like MIPS) can be a smart add. Research suggests potential benefit in some angled impacts, but results vary and it does not replace good fit. It depends on it.
Measure your head
Helmet sizing starts with head circumference. Brands vary, so your “medium” in one model can be your “large” in another. Trust the tape, not the tag.
What you need
- A soft measuring tape (or a string plus a ruler)
- A mirror or a friend who will take the job seriously
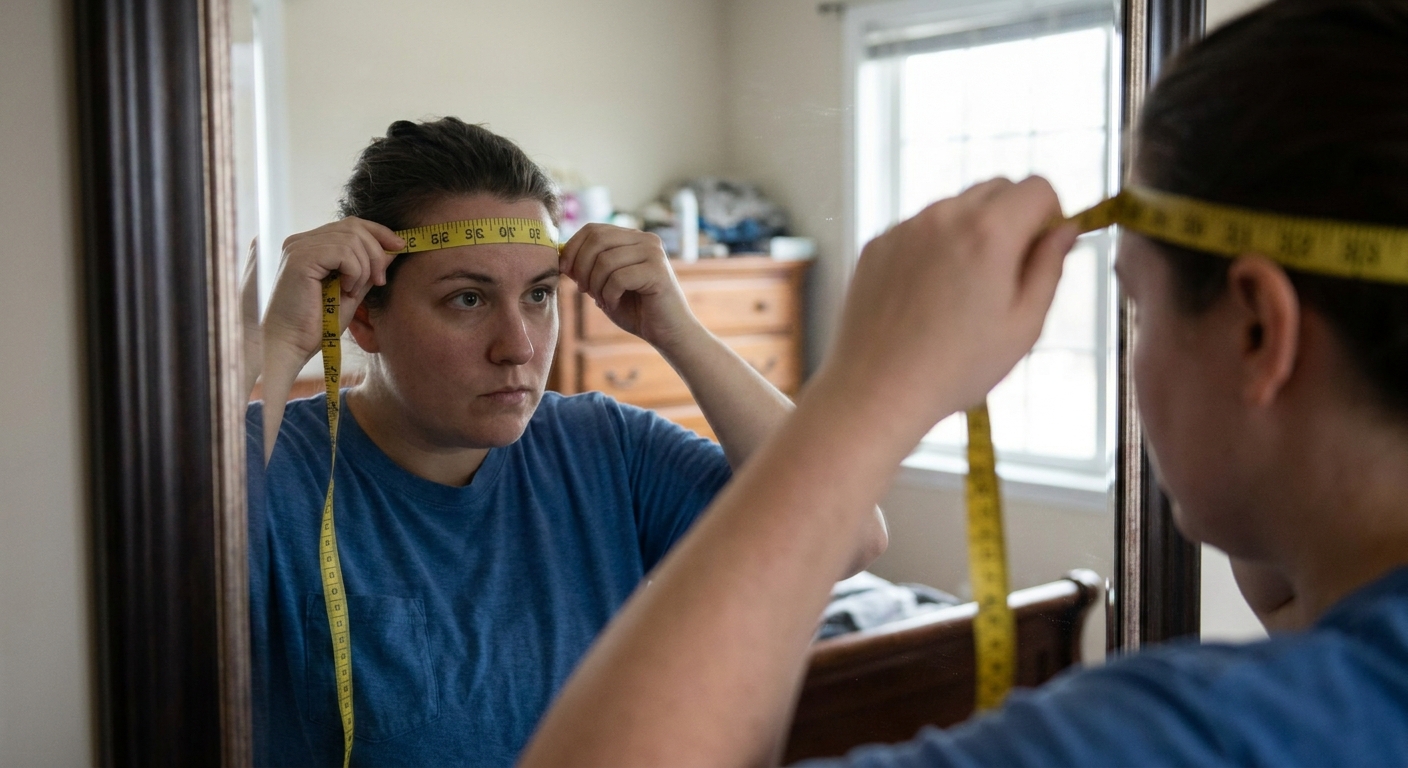
How to measure (60 seconds)
- Wrap the tape around your head about 1 inch (2 to 3 cm) above your eyebrows.
- Keep it level as it goes around, crossing the widest part of the back of your head.
- Pull it snug, not tight. Write down the measurement in centimeters. Most size charts use cm.
- Measure twice. If you are between sizes, note that too.
Pro tip from the “played through pain” department: measure with your hair like you will ride. If you always wear a thin beanie or balaclava under your helmet, measure with it on. Do not plan on “making room later.”
Quick comfort check: take out anything that creates surprise pressure points, like bulky hair clips, a low bun, or large earrings.
Pick the right size
Take your measurement and match it to the exact helmet model’s size chart. If you are in-between sizes, use these rules:
- If you want maximum comfort for long days: consider sizing up, but only if the helmet can still be snugged down with the fit system.
- If you want the most secure performance fit: consider sizing down, but only if you can wear it for 10 to 15 minutes with no pressure points.
- Head shapes are real: some helmets run more round, others more oval. If you keep landing between sizes or get forehead pressure, try a different brand or model rather than forcing it.
Kids note: do not size up “for room to grow.” Get the right fit now, then recheck mid-season. Heads grow and straps slip.
The fit test
Here’s the test I use when I’m helping parents fit youth helmets or talking friends out of a too-big “deal” they found online.
Step 1: Put it on right
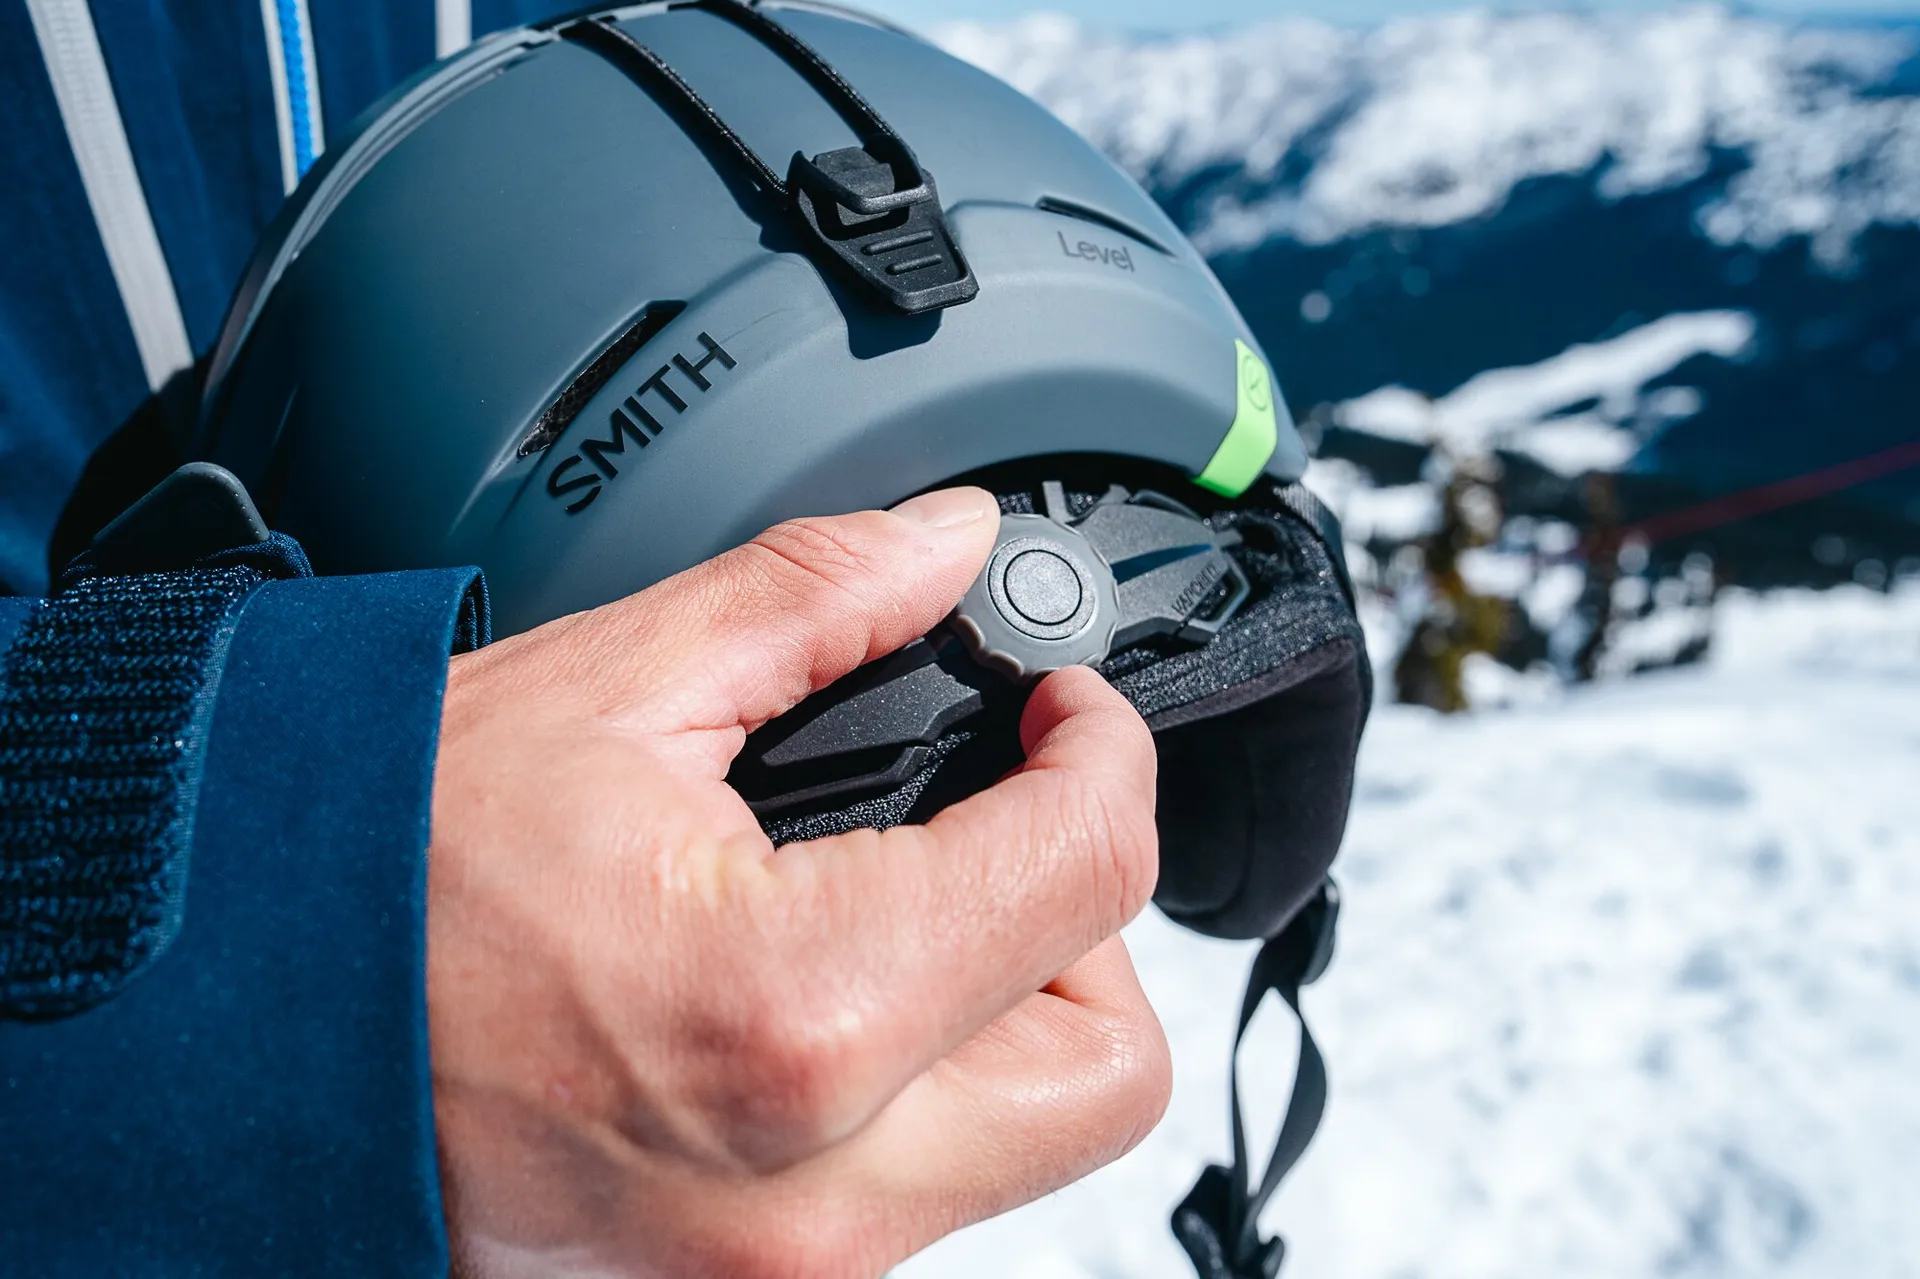
- Open the chin strap and loosen the fit dial (or BOA-style system) if your helmet has one.
- Set the helmet on your head level, not tipped back. The front edge should sit about 1 to 2 finger widths above your eyebrows.
- Snug the fit dial until it feels secure, then buckle the chin strap.
Step 2: The shake test
With the strap buckled, gently shake your head “yes” and “no.”
- Pass: the helmet moves your scalp with it and does not slosh around.
- Fail: the helmet shifts independently, slides forward into your eyes, or rocks side-to-side.
If it fails, try tightening the fit system first. If you are maxed out and it still moves, the shell is too big.
Step 3: The lift test
With the chin strap still buckled, try to lift the helmet straight up from the back. If it slides off or nearly comes off, it is too large or not adjusted correctly.
Set the straps
A great shell size can still feel wrong if the straps are sloppy. You want the helmet to stay put even when you catch an edge, tomahawk in soft snow, or take an awkward spill at the top of the run.
Side straps: clean V
The strap junction should sit just below each ear, forming a “V” that feels even on both sides. If the V is behind your ear, the helmet can tip forward. If it is in front, it can pull the helmet back.
Chin strap: two-finger rule
Buckle it and tighten until you can fit two fingers between strap and chin. Any looser and the helmet can rotate more easily on impact. Any tighter and you will dread wearing it.
Reality check: if you can open your mouth wide and the helmet does not press down noticeably on your head, the strap is probably too loose.
Check for hot spots
A helmet should feel evenly snug all around, not like it is trying to win a wrestling match with your forehead.
The 15-minute test
Wear the helmet indoors for 10 to 15 minutes with the fit system and strap set how you would ride.
- Good signs: even contact, no pinching, no numbness, no pulsing headache.
- Bad signs: sharp pressure on the forehead, temples, or the back “bump” area; tingling; immediate headache.
If you get hot spots, do not assume “it will break in.” Helmet foam is not like a baseball glove. Try a different size or a different model shaped for your head.
Match goggles
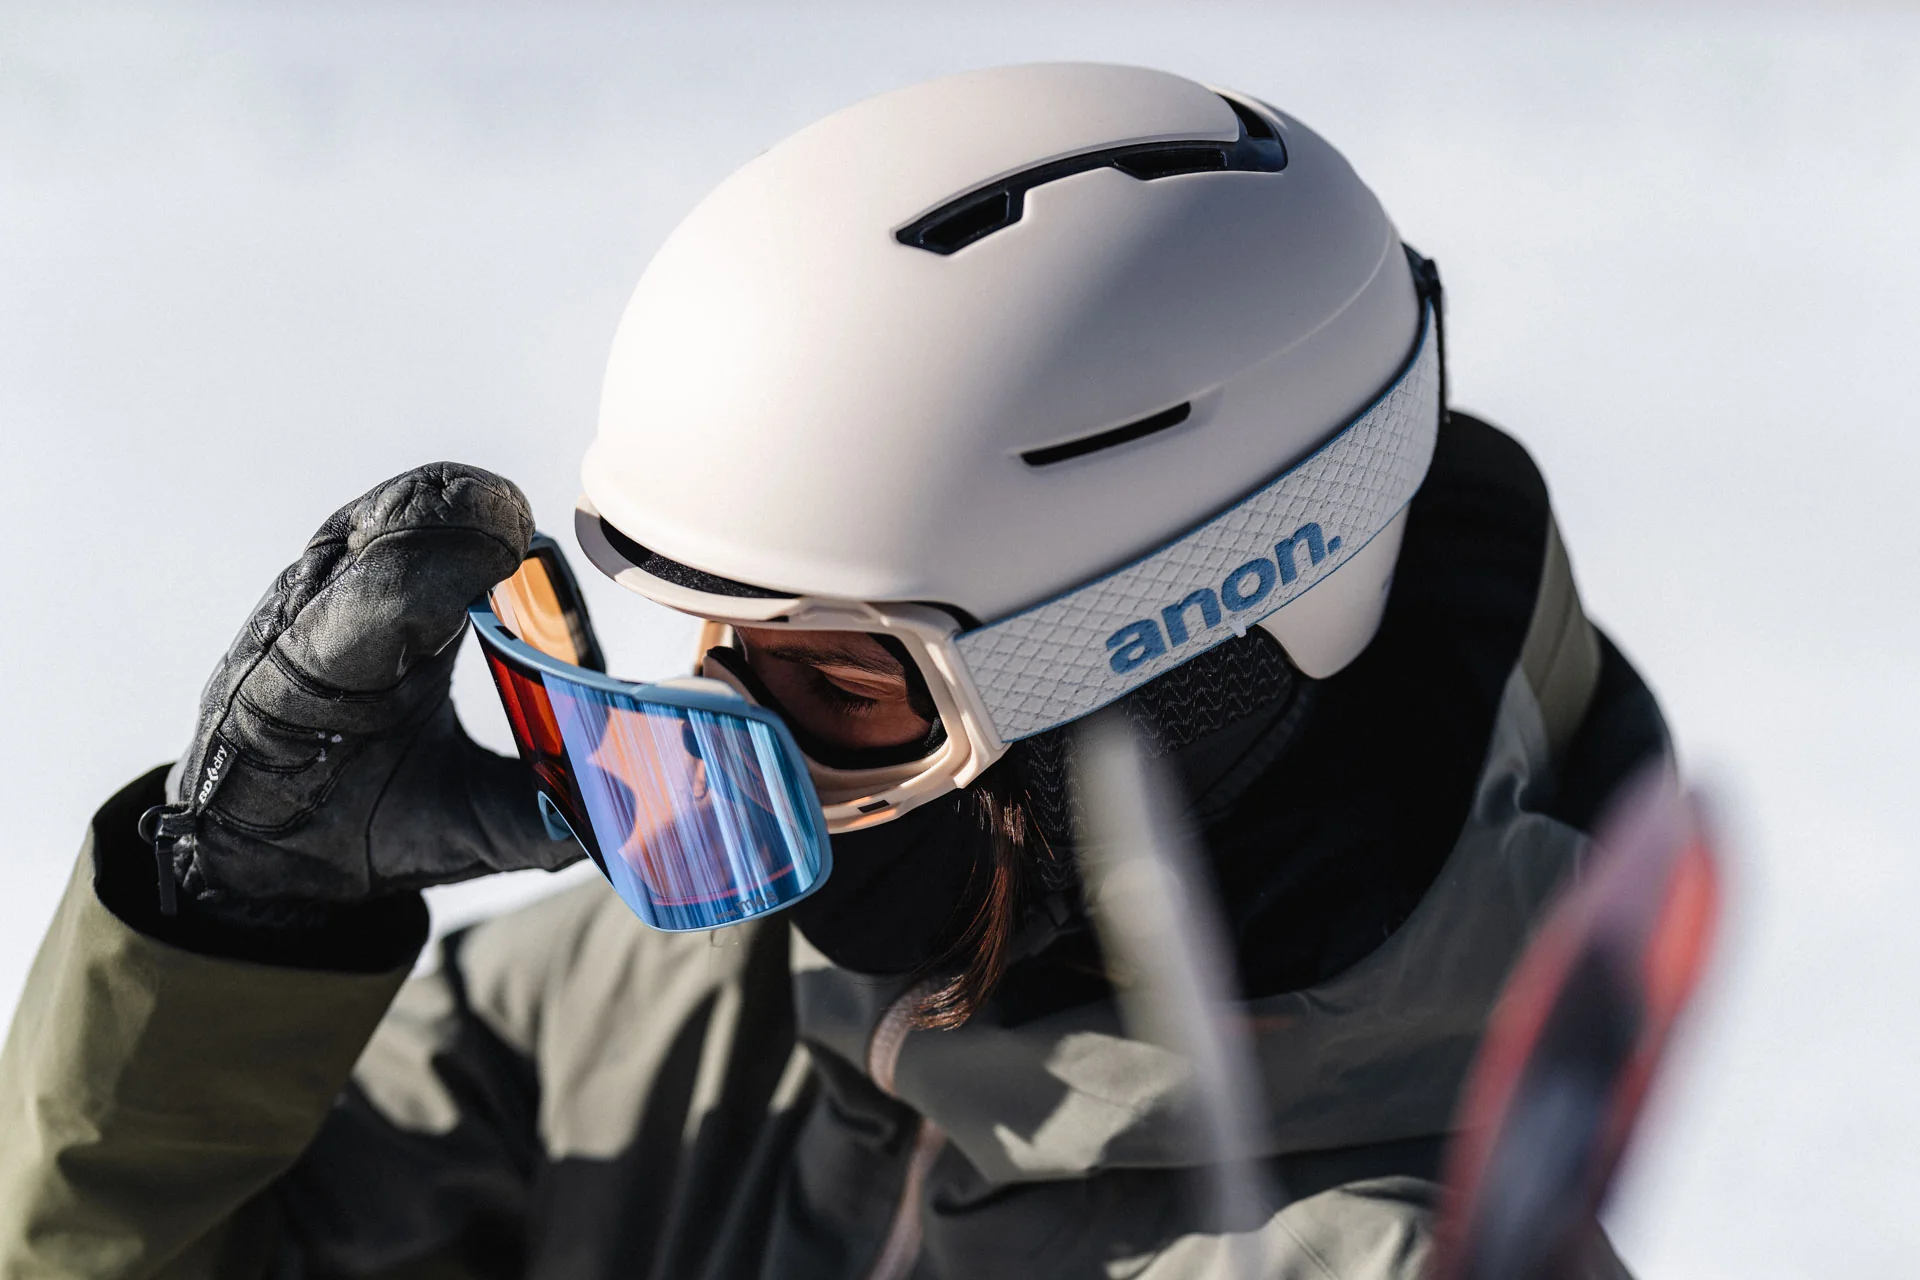
Fit is not just helmet-to-head. It is helmet-to-goggles too. When the two fight each other, you get a cold forehead, fogged lenses, and constant fiddling.
What to look for
- No gap: goggles should meet the helmet brim cleanly without a strip of exposed forehead.
- No pressure: the helmet should not push goggles down onto your nose.
- Stable strap: the goggle strap should sit flat in the helmet’s strap channel and not slide.
Tip: if you already own goggles you love, bring them when shopping for a helmet. Try the full setup together.
Fine-tune the fit
Most modern helmets include removable ear pads, washable liners, and sometimes extra fit pads. These are not just comfort features. They help you lock in the fit.
- Fit pads: use the manufacturer’s pads to fill small gaps, especially at the crown or back. Do not stuff random material inside.
- Removable ear pads: great for spring riding and for people who run hot. Just make sure removal does not create looseness around the sides.
- Adjustable venting: venting does not change safety standards, but it changes whether you keep the helmet on all day. That matters.
Be careful with thick beanies: bulky hats can make a helmet feel tight and can change how it sits on your head, sometimes tipping it up and ruining coverage. Thin skull caps and helmet liners are the move if you need warmth.
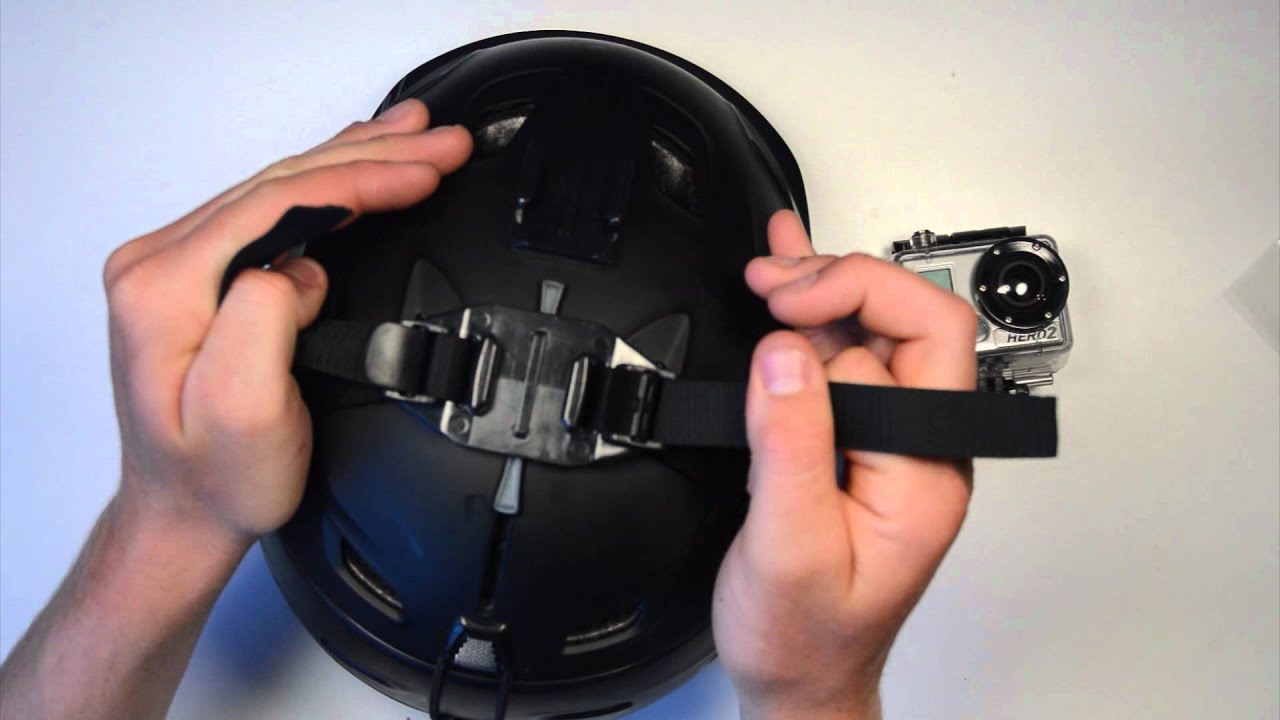
Do not mod your shell: avoid drilling, cutting, or adding adhesive mounts not approved by the manufacturer. Stickers are usually fine, but anything that involves solvents, heat, or hardware can compromise materials.
Common mistakes
- Helmet tipped back: your forehead is not optional coverage. Level the helmet.
- Strap too loose because it “feels chill”: in a crash, loose straps can let the helmet rotate. Snug is safer.
- Sizing up for comfort: comfort comes from correct shape and adjustment, not extra space.
- Buying without trying goggles: compatibility issues are a common reason people fidget with their setup and end up wearing their helmet less consistently.
- Using a crashed helmet: any significant impact can compromise the foam even if the shell looks fine. When in doubt, replace it.
- Buying used without history: if you do not know whether it has been dropped or crashed, pass. Rental helmets can be fine, but still do a condition check and a full fit test.
When to replace it
Helmets are not forever gear. Replace your ski or snowboard helmet if:
- It took a hard impact (even a single one) or you suspect it did. Many helmets are designed around managing one significant impact.
- There are cracks, crushed foam, a loose fit system, or straps that are fraying.
- It no longer fits snugly after adjustments.
- It is several years old and has seen heavy use and lots of temperature swings. Many brands suggest replacement around 3 to 5 years, but guidance varies. Check your manufacturer.
- It shows visible degradation or had harsh exposure (chemicals, excessive UV, or heat).
Store it in a cool, dry place. Avoid leaving it in a hot car trunk for long stretches. Heat and time are not friends of protective foam.
Quick checklist
- Helmet sits level, 1 to 2 finger widths above eyebrows
- No rocking or sliding when you shake your head
- Side straps form an even V under the ears
- Chin strap snug with the two-finger rule
- No pressure points after 10 to 15 minutes
- Goggles fit without a gap and without being pushed into your face
If you hit every box, you are not just “wearing a helmet.” You are wearing it the way it was designed to protect you. And that is how you give yourself the best shot at stacking great days on snow, not stories about the one that went sideways.