
You buy a wearable. It spits out five colorful “zones,” and suddenly every workout feels like a math quiz. Here’s the good news: heart rate zones are just a way to organize effort so your easy days stay easy and your hard days actually count.
Below, I’ll define Zone 1 through Zone 5 two ways: by percentage of max heart rate and by the talk test (my favorite low-tech truth serum). Then we’ll map each zone to what it’s best for, and lay out simple weekly examples for runners, cyclists, and court-sport athletes.
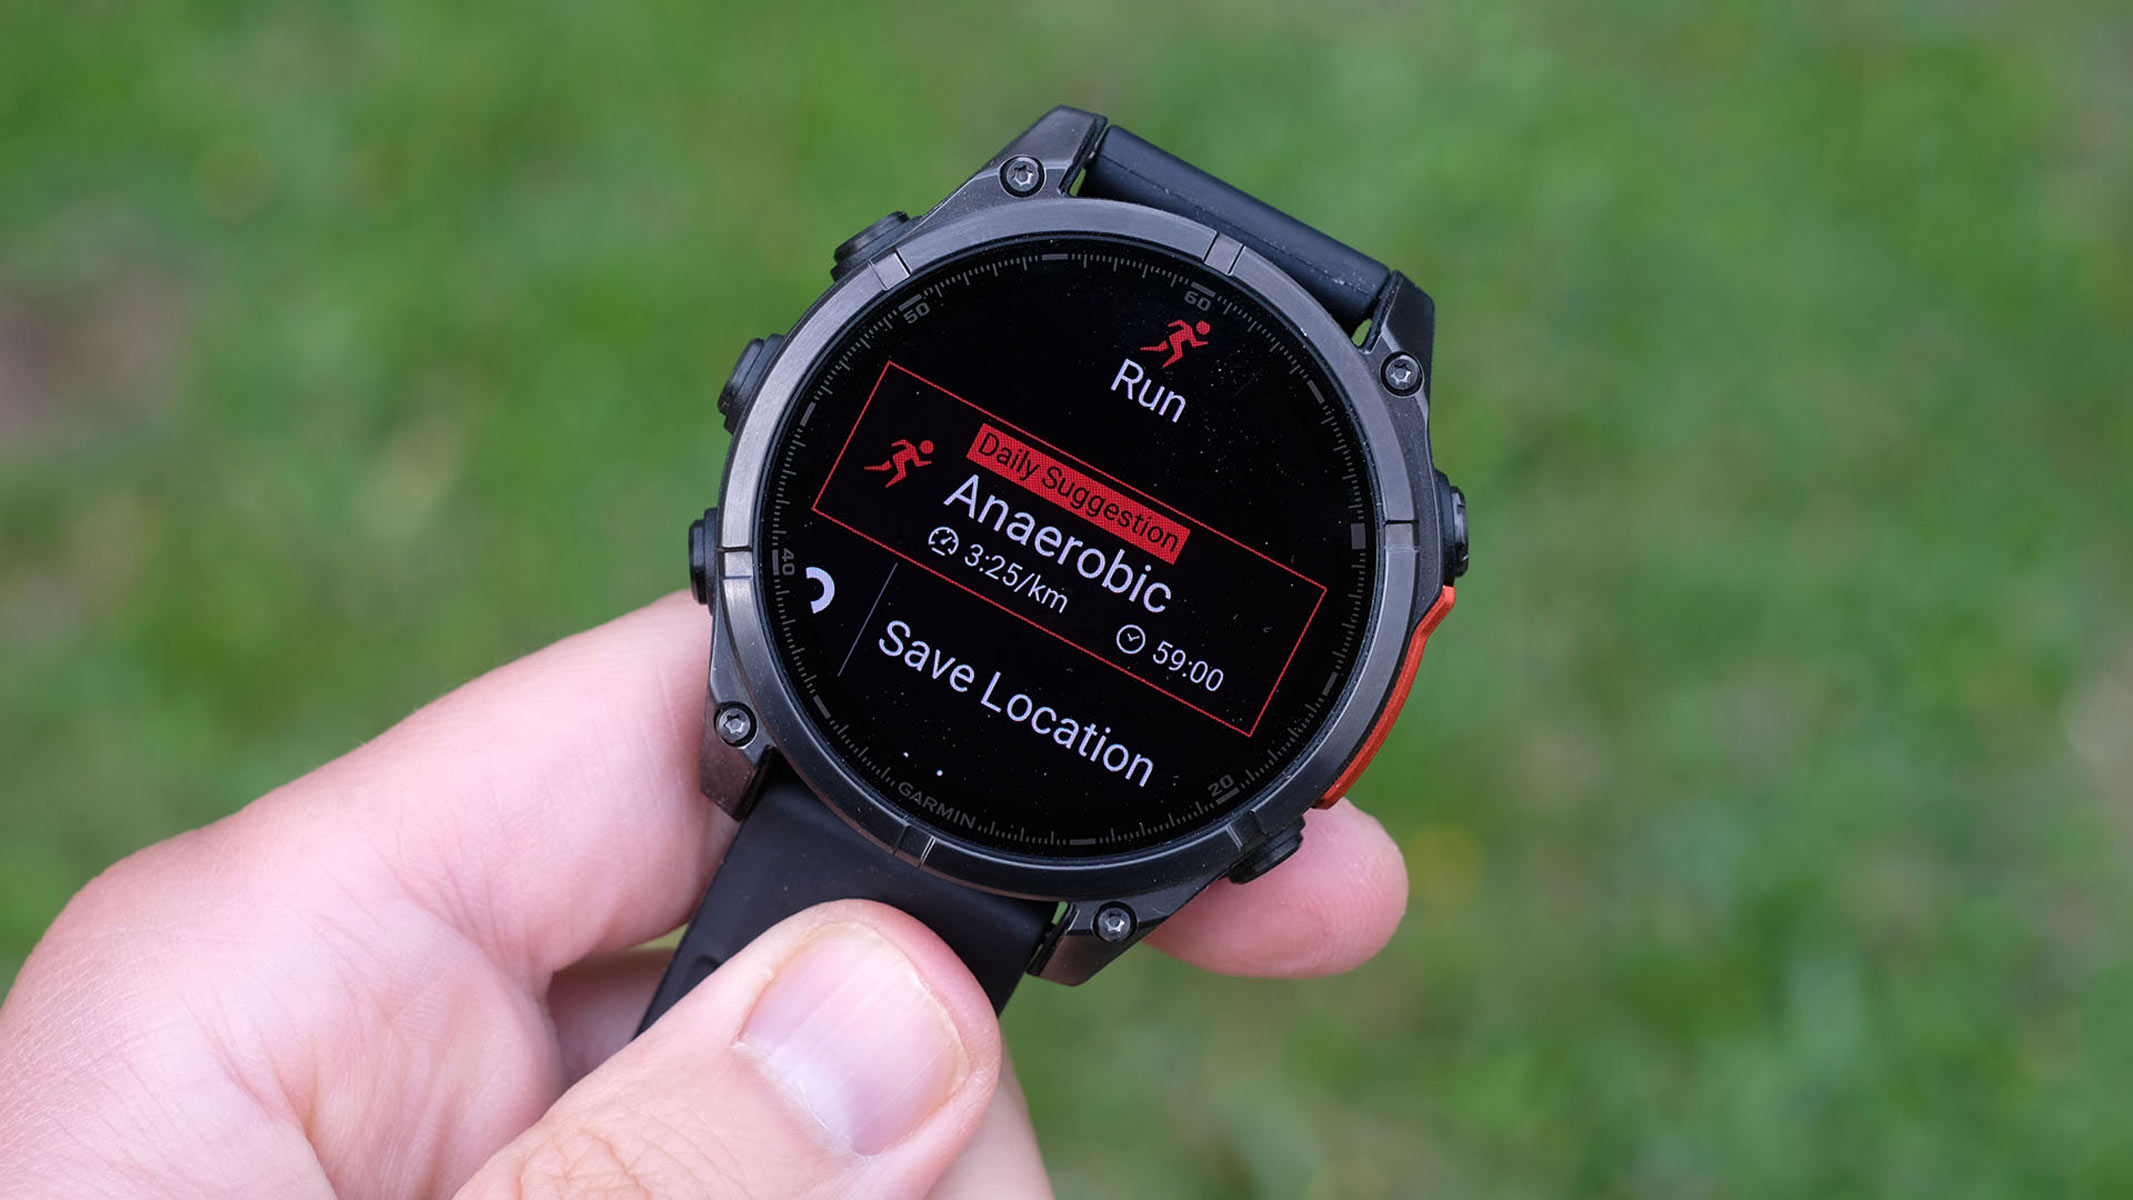
Quick note before the zones
Percent-of-max is useful, but not perfect
Most consumer zone charts are built off max heart rate (HRmax). If you do not know yours from a real test, your device is estimating. That is fine for organizing training, but it will not be perfect. Your heart rate also runs higher with heat, stress, dehydration, caffeine, and poor sleep.
Also, zone boundaries vary by model. Some systems use heart rate reserve (HRR) or define zones from lactate or ventilatory thresholds instead of HRmax. Translation: the numbers are a starting point, not holy scripture.
The talk test saves you on bad data days
When your watch says you’re “too high” on an easy day because it’s 92 degrees out, the talk test keeps you honest. It lines up nicely with breathing changes (ventilatory thresholds), which is part of why it works so well in the real world. Think of heart rate as a guide, not a courtroom verdict.
Zones 1 to 5 (percent-of-max + talk test)
Different systems draw the lines a little differently, but these ranges are a solid, widely used starting point for HRmax-based zones. Use the talk test to calibrate what the numbers feel like in your body.
Zone 1: Very easy (about 50 to 60% HRmax)
- Talk test: Full sentences, zero strain. You could hold a conversation and crack jokes.
- What it feels like: Warm-up pace, cooldown pace, recovery pace.
- Best for: Recovery, circulation, adding volume without adding stress, technique work.
Zone 2: Easy aerobic (about 60 to 70% HRmax)
- Talk test: Comfortable conversation. You can talk in complete sentences, maybe you pause to breathe now and then.
- What it feels like: “I can do this a while.” Steady and controlled.
- Best for: Base building, aerobic efficiency, endurance, staying healthy while stacking consistent weeks.
Zone 3: Moderate (about 70 to 80% HRmax)
- Talk test: Short sentences, especially once you settle in. At the low end, some athletes can still speak more comfortably, which is a clue you might be closer to Zone 2 than you think.
- What it feels like: Purposeful. You are working, but not gasping.
- Best for: Steady-state efforts, “tempo” development, aerobic power, controlled discomfort.
Zone 4: Hard (about 80 to 90% HRmax)
- Talk test: A few words at a time. Talking feels annoying.
- What it feels like: You are locked in. Focus narrows.
- Best for: Threshold work, longer intervals, raising the pace you can hold without fading.
Zone 5: Very hard (about 90 to 100% HRmax)
- Talk test: Basically no talking.
- What it feels like: Max effort bursts. You are counting seconds, not minutes.
- Best for: VO2 max intervals, speed development, short hill repeats, finishing kick work.
What each zone is for
If you only remember one thing, make it this: most athletes get better by doing a lot more Zone 1 to 2 than they think, and a little less Zone 3 than they drift into.
Base building: Zones 1 and 2
Base is the stuff that lets you train again tomorrow. It improves your ability to use oxygen, handle volume, and recover from hard sessions. It is also where you can sneak in skill work: running form, smooth pedaling, footwork patterns, ball-handling, and mobility.
Tempo work: Zone 3 (and sometimes low Zone 4)
Tempo is controlled discomfort. Done right, it teaches you to stay efficient when the effort creeps up. Done too often, it becomes the “gray zone” where you are always kind of tired but rarely truly fast.
Threshold intervals: Zone 4
These are your sustained hard reps: the workouts that raise the ceiling on what you can hold for a long time. Think: repeats you can complete with discipline, not chaos.
VO2 and speed: Zone 5
Zone 5 is spice, not the main course. It sharpens you, but it also costs you. Keep it short, keep it high-quality, and respect the recovery.
How to use zones simply
Rule 1: Let easy be easy
If your plan says “easy,” live in Zone 1 to 2. If you creep into Zone 3 on every run, ride, or conditioning day, you’ll feel tough right now and strangely flat in about three weeks.
Rule 2: Hard days earn their spot
Many recreational athletes do great with 1 to 2 hard sessions per week (Zone 4 to 5 work), assuming you are healthy and already training consistently. More is not always better, especially if you have a job, kids, and a body that sits at a desk all day then tries to sprint at 7 p.m.
Rule 3: Use ranges, not single numbers
Heart rate drifts upward during steady work, even at the same pace or power. That is normal, and it shows up more in heat, humidity, dehydration, and long efforts. Aim for a zone range and use the talk test to keep it honest.
Rule 4: Judge by time in zone
Heart rate lags behind effort. On intervals, your heart rate may not spike immediately. That is why many athletes use pace, power, or perceived exertion to start the rep and then use heart rate as a guardrail.
Weekly examples
These are sport-agnostic by design. Same zones, different playground.
Runner: simple week (5 key sessions)
- Mon: 30 to 45 min Zone 1 to 2 (easy) + light mobility
- Tue: Intervals: warm up Zone 1 to 2, then 4 to 6 x 3 min Zone 4 with easy jogging between, cool down Zone 1
- Wed: 35 to 60 min Zone 2 (keep it conversational)
- Thu: Off or 25 to 35 min Zone 1 (true recovery)
- Fri: Tempo: 10 min easy, then 15 to 25 min Zone 3 (steady), finish easy
- Sat: Long run Zone 2 (sprinkle brief Zone 1 walk breaks if needed to stay honest)
- Sun: Off or optional 20 to 30 min Zone 1
Cyclist: 4 rides, no fluff
- Ride 1: 60 to 90 min Zone 2 endurance
- Ride 2: Threshold set: 2 x 12 to 20 min Zone 4 with easy spinning between
- Ride 3: 45 to 75 min Zone 1 to 2 (keep cadence smooth)
- Ride 4: VO2 sampler: 6 to 10 x 1 min Zone 5 with plenty of easy pedaling so each rep is sharp
Bonus cyclist tip: on climbs, heart rate rises fast. If the goal is Zone 2, downshift early and protect the zone instead of “winning” the hill.
Court-sport athlete: game-smart conditioning
Basketball, soccer, tennis, volleyball, pickleball, lacrosse. The sport is intervals whether you like it or not. Use zones to keep conditioning from turning into random suffering.
One nuance: heart rate lags, so zones can be less actionable in stop-and-go play. Use sprint times, rep quality, and RPE to run the interval. Use heart rate to sanity-check the overall session load and recovery.
- Session 1 (aerobic base): 25 to 40 min continuous Zone 2 using low-impact options (bike, rower, easy run) or steady on-court movement with long rest
- Session 2 (game-like intervals): After a warm-up, run 10 to 20 sec hard bursts that push Zone 4 to 5, then recover long enough to get back to Zone 1 to 2 before the next burst
- Session 3 (skill day): Keep heart rate mostly Zone 1 to 2 while you focus on shooting form, footwork, first step mechanics, or change-of-direction technique

The gray zone trap
The most common mistake I see is living in Zone 3 by accident. The run is not easy enough to recover from quickly, but not hard enough to drive a big fitness leap. It feels productive because you are breathing, sweating, and posting a respectable pace.
Fix it with one decision: choose the purpose before you start.
- If it is an easy day, cap it at Zone 2 and pass the talk test.
- If it is a hard day, commit to Zone 4 to 5 for the work intervals and recover properly between reps.
Common questions
Do I need a chest strap?
Wrist sensors are convenient and often good enough for steady Zone 1 to 2 work. For fast intervals or sports with lots of wrist movement, a chest strap tends to be more reliable. If your data looks jumpy or delayed in hard sessions, it is often the sensor (optical lag or motion artifact), but medications, fatigue, and health issues can also affect heart rate response. If something feels truly off, do not ignore it.
What if my heart rate is high on an easy day?
Heat, hills, stress, dehydration, and poor sleep all push HR up. Slow down, shorten the session, or take walk breaks to keep it in Zone 2. Use the talk test as your backstop.
Should I train by zones or by pace and power?
They can work together. Pace and power tell you what you are doing. Heart rate tells you what it costs today. On a hot or stressful day, heart rate is often the better governor.
How much of my week should be Zone 2?
For many athletes, a simple target is: most minutes easy (Zone 1 to 2), a little time hard (Zone 4 to 5), and Zone 3 used on purpose. If you want a cleaner week, start by making your recovery days truly Zone 1.
How do I find my real HRmax?
The cleanest answer is a supervised lab test, but many people use a hard field test (like a progressive hill or track effort) to get close. If you have cardiac risk factors, symptoms, or have not trained hard in a long time, talk to a clinician first and do not max-test solo. For day-to-day training, you do not need a perfect HRmax, you need repeatable effort and good judgment.
Is HRR better than %HRmax?
Sometimes, yes. Heart rate reserve uses resting HR and max HR (the Karvonen method), and it often fits individuals better than straight percent-of-max. If your easy days feel too hard (or your hard days feel mislabeled), switching models can clean things up fast.
Bottom line
Heart rate zones are not about turning you into a robot. They are about protecting your easy days, sharpening your hard days, and keeping you consistent enough to stack months, not just one heroic week.
If you’re new to this, start simple: two rules. Easy days stay Zone 1 to 2. Hard days have a clear plan and real recovery. The rest gets a lot less complicated from there.