If you have ever watched someone float for a rebound or rise up for a block and thought, how are they doing that, I promise you it is not magic. It is training. The vertical jump is a skill powered by strength, timing, coordination, and your muscle-tendon system’s ability to store and return elastic energy fast.
This four-week plan is designed for athletes who want more bounce for basketball, volleyball, football, or just the personal satisfaction of touching a higher mark on the wall. We will use plyometrics the right way, pair them with simple strength work, and keep the volume smart so you can progress without turning your knees into a complaint department.
Before you start
Who this plan is for
- Beginner-to-intermediate lifters: you train 1 to 3 days a week already and can squat and hinge with decent form.
- In-season athletes (with adjustments): you will reduce volume and prioritize quality.
- Weekend warriors who want more pop without guessing.
Who should pump the brakes
- Anyone with current Achilles, patellar tendon, or significant ankle pain.
- If you cannot land quietly from a small jump or your knees cave in when you squat.
- If you are new to training, spend 2 to 4 weeks building base strength and landing mechanics first.
Simple equipment
- A sturdy box or step (12 to 24 inches depending on ability)
- One dumbbell or kettlebell (optional but helpful)
- A safe open space for broad jumps and bounds
- A pull-up bar or rim to test touch height (optional)
Surface and shoes
- Best surfaces: wood court, turf, rubber gym flooring, or a track.
- Avoid: concrete and uneven ground for high-intensity jumping.
- Shoes: stable trainers or court shoes. Skip super squishy shoes if you feel wobbly on landings.
How jump height improves
Think of jumping like a one-rep max that happens in a blink. You need strength to create force, but you also need to apply it quickly. Plyometrics train your body to store and release energy through the stretch-shortening cycle. In normal-human terms, you get better at loading like a spring and snapping out of it.
The big rules:
- Quality over quantity: every rep should look athletic.
- Land like a ninja: quiet feet, knees tracking over toes, hips back.
- Rest is training: most jump sets need 60 to 120 seconds, and 2 to 3+ minutes is fair game for truly max-effort reps. If height drops, you rest longer or you stop.
- Strength supports bounce: a stronger engine makes plyos more productive and safer.
Auto-regulation rule
- If jump height or distance drops around 10 percent, your landings get loud, or your knees start caving in, shut down the plyos for the day. Do your strength work and call it a win.
Warm-up (8 to 12 minutes)
Do not skip this. Your vertical jump is a coordination party, and the warm-up sends the invites.
- 2 minutes easy bike, jog, or jump rope
- Ankles and calves: 2 x 10 each side knee-to-wall ankle rocks
- Hip openers: 10 walking lunges with reach
- Glute activation: 2 x 10 glute bridges (pause 1 second at top)
- Landing prep: 2 x 5 snap-downs (stand tall, drop into athletic quarter squat and freeze)
- Build-up jumps: 3 submax vertical jumps at 50, 70, 85 percent effort
Quick definitions (so you are not guessing):
Snap-down: a fast drop from tall to athletic stance, then freeze and own the position.
Hinge: hips go back, shins mostly vertical, torso leans forward as you load hamstrings and glutes.
RDL: Romanian deadlift, a hinge lift that targets hamstrings and glutes.
Pogo jumps: quick, springy ankle hops with minimal knee bend.
Pallof press: anti-rotation core press using a cable or band.

Your weekly schedule
Train 3 days per week for four weeks. Each session is 45 to 60 minutes.
- Day 1: Plyometrics + Strength (squat focus)
- Day 2: Plyometrics + Strength (hinge focus)
- Day 3: Reactive plyos + Unilateral strength + Core
Rest days: take at least one day between sessions. Light shooting, mobility work, and easy cardio are fine.
How hard should the lifts be?
- Most strength sets should feel like RPE 7 to 8 (you could do 2 to 3 more reps if your life depended on it).
- When it says heavy but clean, think RPE 8 to 9 with perfect form and zero grinding.
Plyo volume (rough target)
- Week 1: about 35 to 55 jump contacts per session
- Week 2: about 45 to 65 contacts per session
- Week 3: about 35 to 55 contacts per session (intensity up, volume controlled)
- Week 4: about 25 to 45 contacts per session (feel springy)
Week 1: Base and landings
Week 1 is where you earn the right to go harder later. We are teaching your body to absorb force cleanly and produce it with control.
Day 1 (Squat)
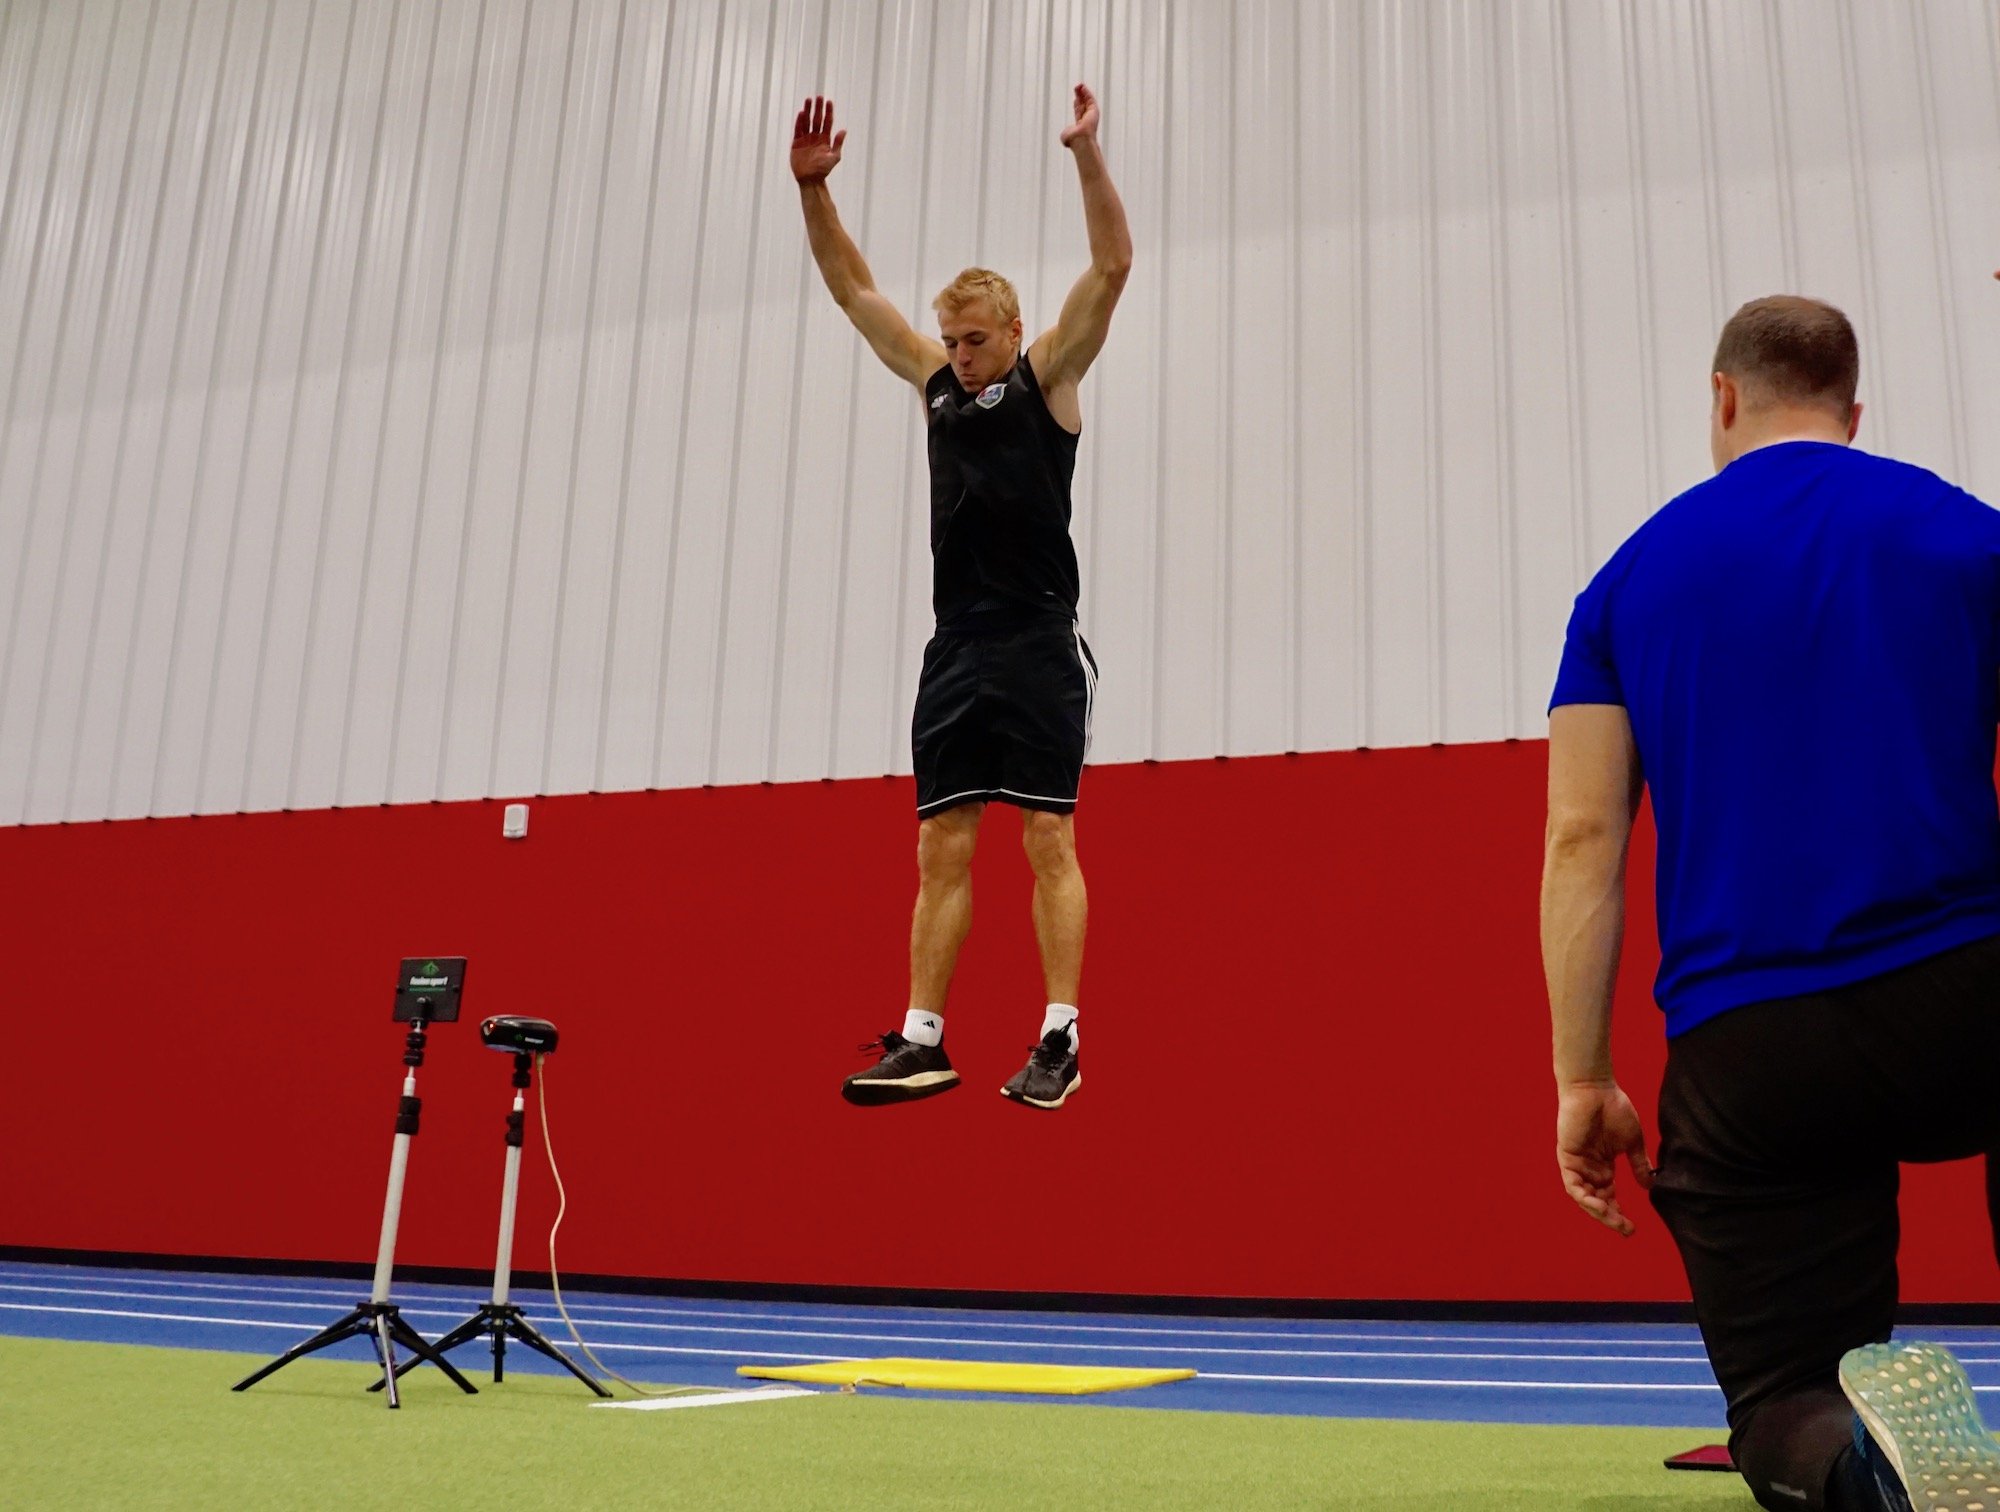
- Countermovement vertical jump: 4 x 3 (rest 90 seconds, longer if height drops)
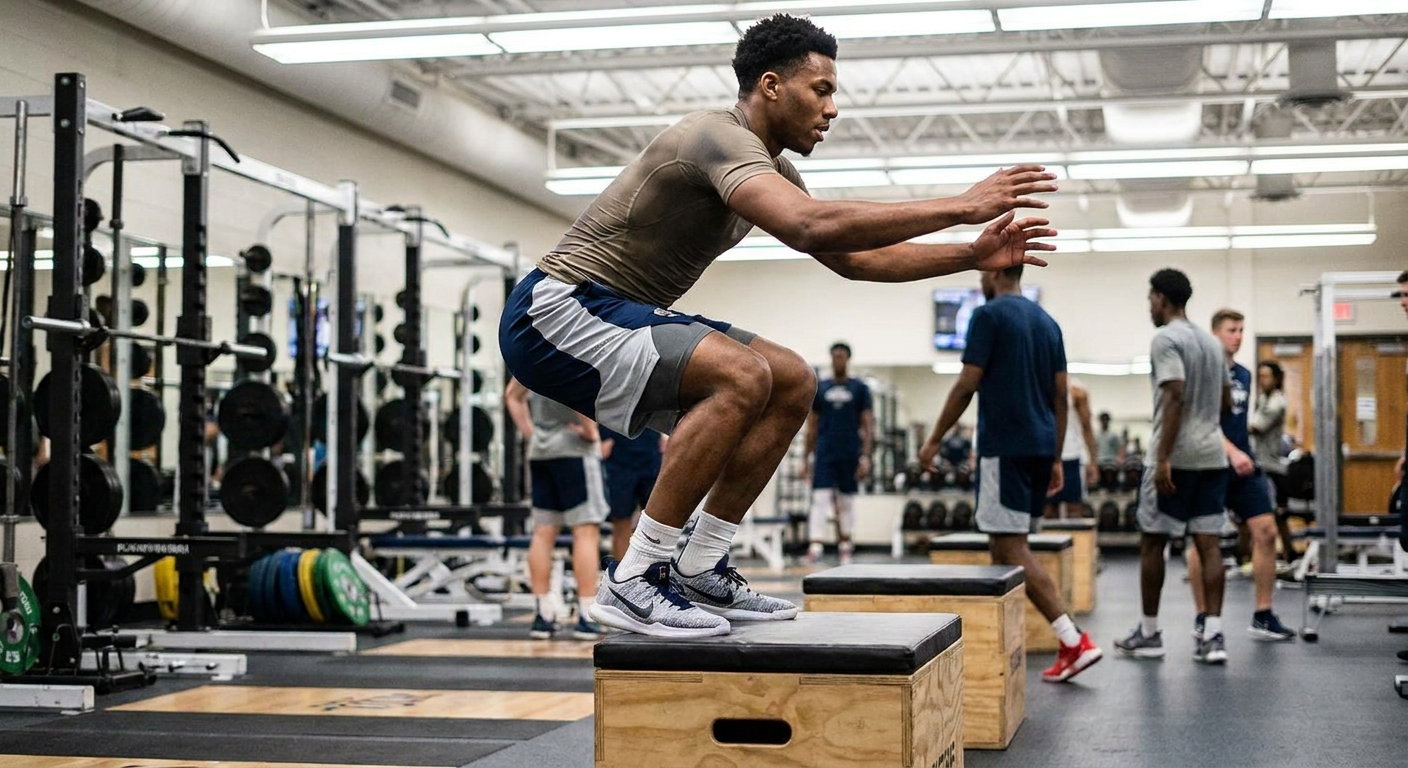
- Box jump (low box, stick the landing): 4 x 3 (rest 90 seconds)
- Goblet squat: 4 x 6 (rest 90 seconds, RPE 7 to 8)
- Romanian deadlift (dumbbells or bar): 3 x 8 (rest 90 seconds, RPE 7 to 8)
- Calf raises: 3 x 12 (rest 60 seconds)
Day 2 (Hinge)
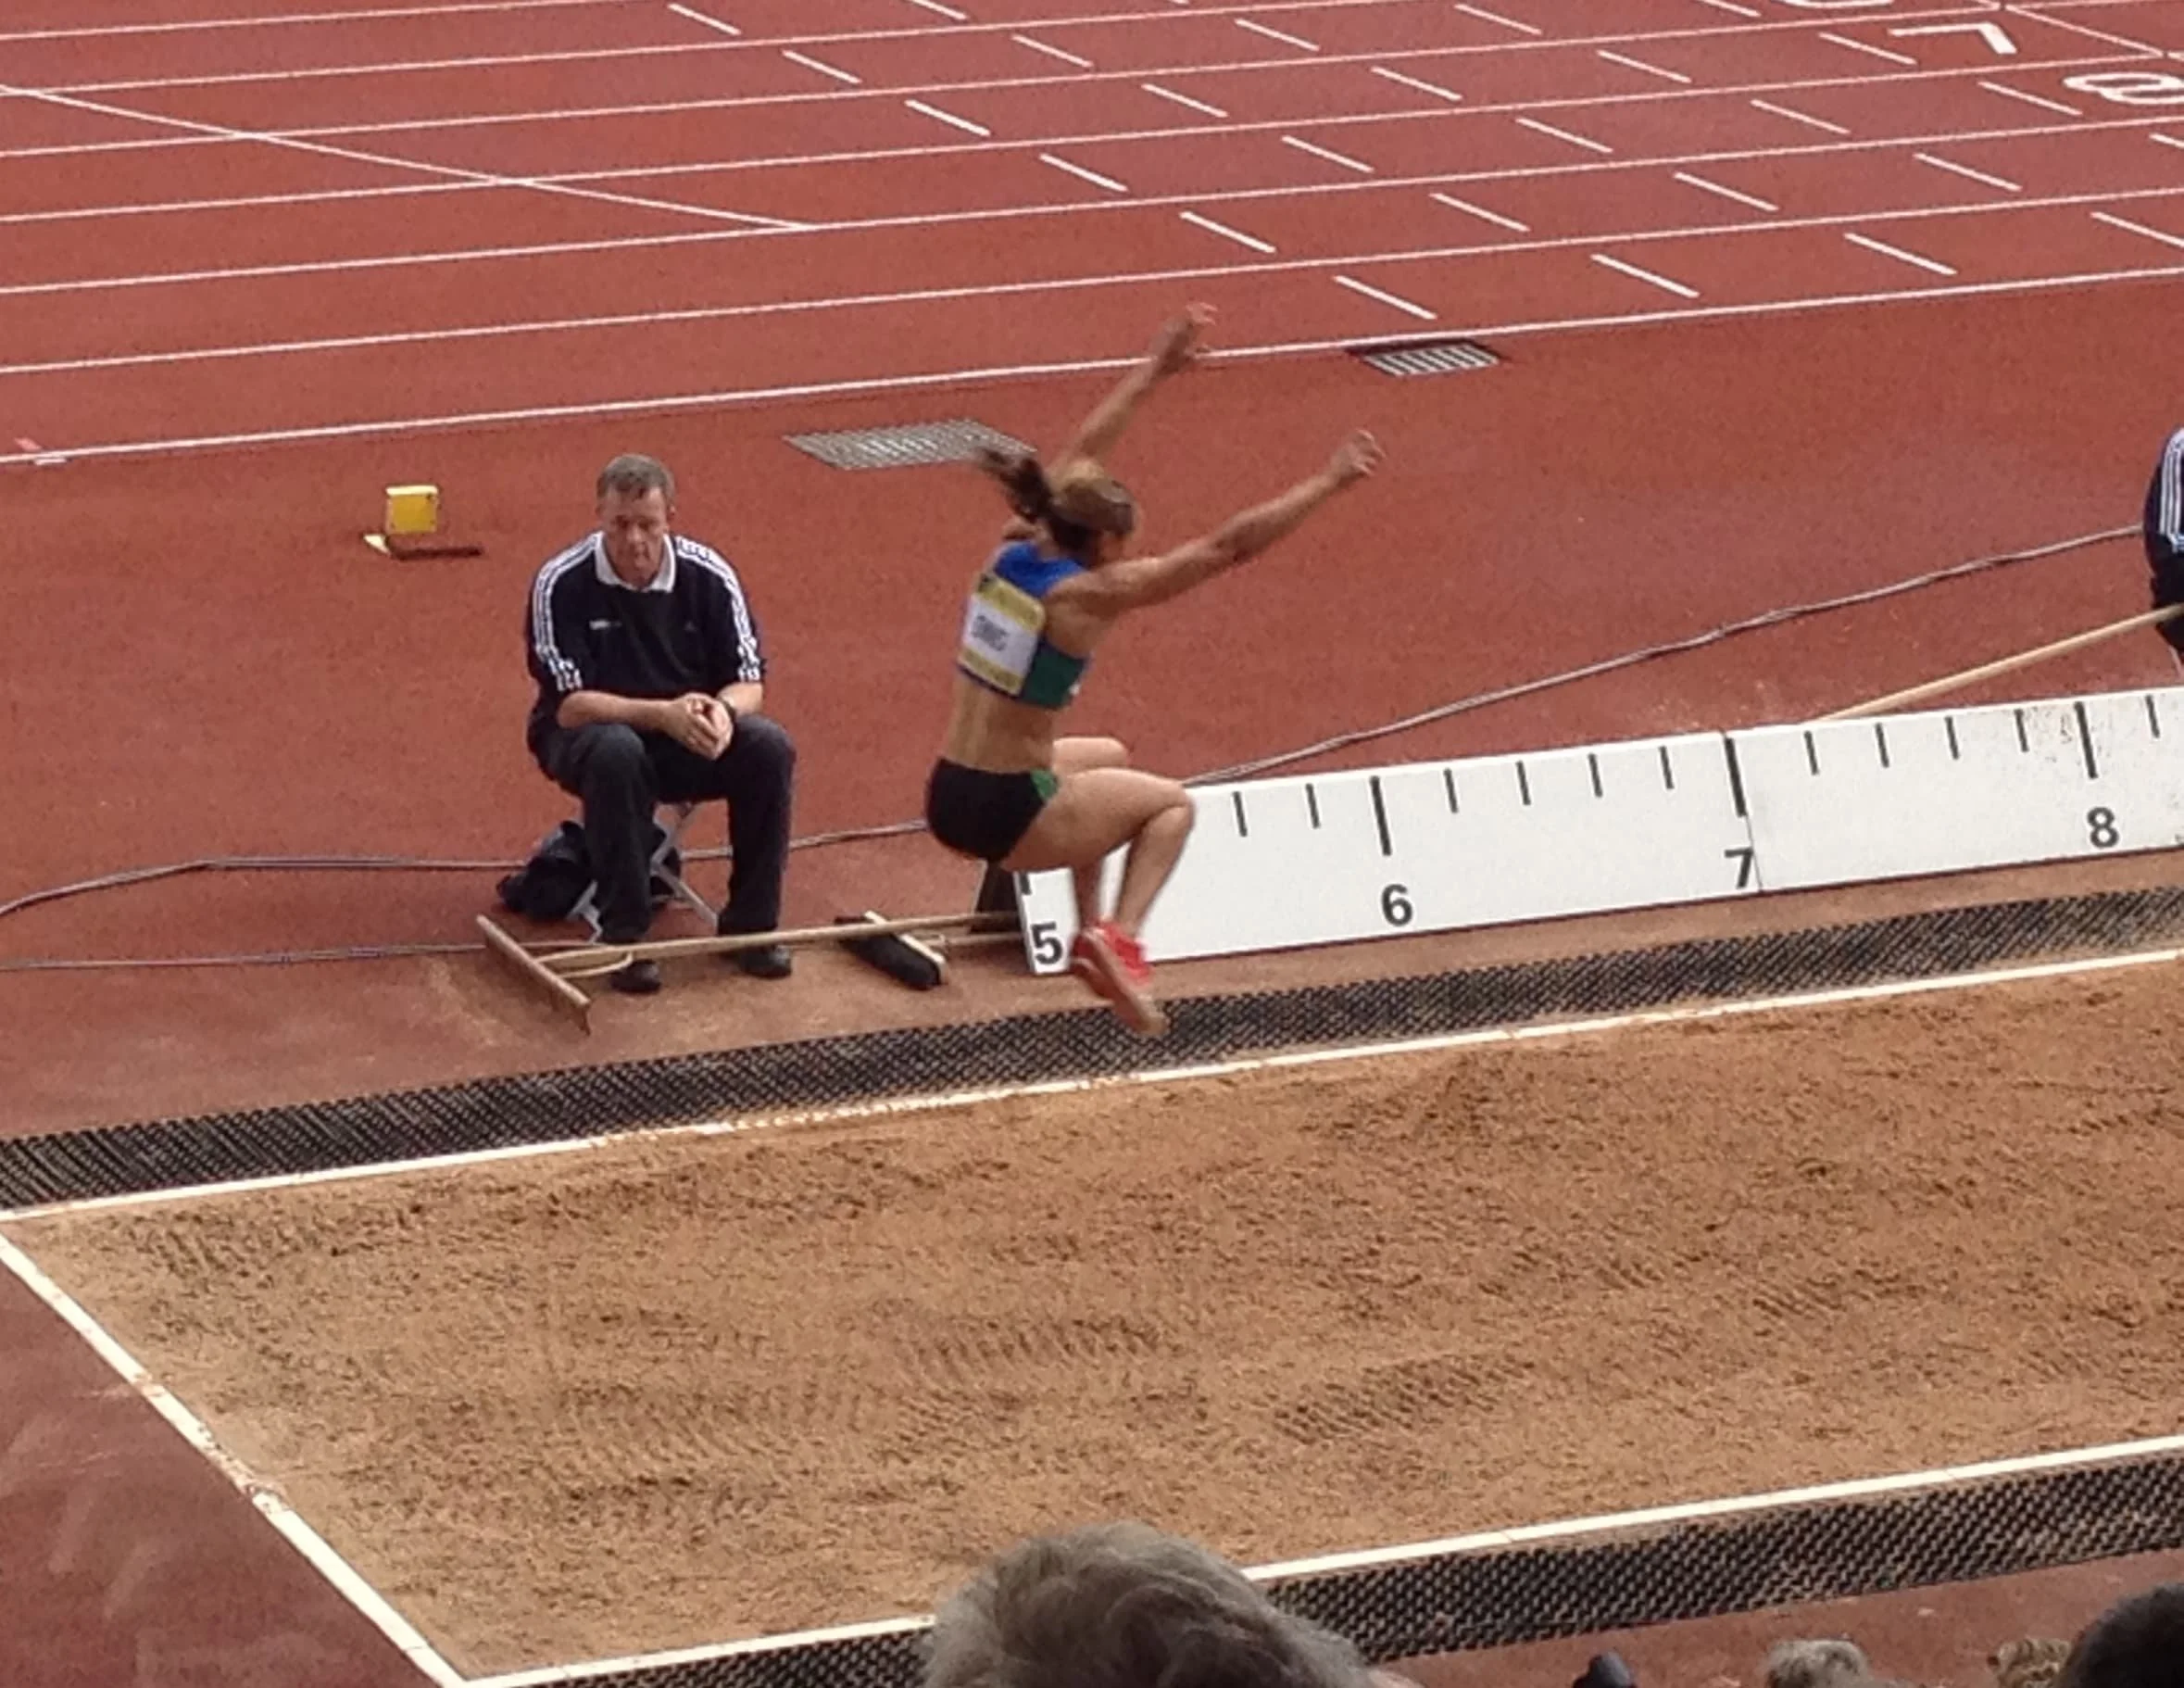
- Broad jump (stick landing): 5 x 2 (rest 90 to 120 seconds)
- Split squat jumps (bodyweight, small range): 3 x 4 each side (rest 90 seconds)
- Trap bar deadlift (or bar deadlift): 4 x 5 (rest 2 minutes, RPE 7 to 8)
- Hip thrust: 3 x 8 (rest 90 seconds, RPE 7 to 8)
- Side plank: 3 x 30 seconds each side
Day 3 (Reactive + unilateral)
- Pogo jumps (quick ankles, minimal knee bend): 5 x 12 seconds (rest 60 seconds)
- Lateral skater hops (stick landing): 4 x 4 each side (rest 90 seconds)
- Reverse lunge: 3 x 8 each side (rest 90 seconds, RPE 7 to 8)
- Single-leg RDL: 3 x 8 each side (rest 90 seconds, controlled)
- Dead bug: 3 x 8 each side
Week 2: More pop
Same structure, slightly more intensity. You are still landing clean, but you are starting to chase more bounce.
Day 1
- Countermovement vertical jump: 5 x 3 (rest 90 to 120 seconds)
- Box jump (slightly higher if landings stay perfect): 5 x 2 (rest 90 to 120 seconds)
- Front squat (or goblet squat): 4 x 5 (rest 2 minutes, RPE 7.5 to 8.5)
- Romanian deadlift: 3 x 6 to 8 (rest 90 seconds, RPE 7 to 8)
- Standing calf raise: 4 x 10 (rest 60 seconds)
Day 2
- Broad jump: 6 x 2 (rest 90 to 150 seconds)
- Tuck jump (small set, crisp reps): 4 x 3 (rest 90 to 120 seconds)
- Deadlift (trap bar preferred): 5 x 3 (rest 2 to 3 minutes, RPE 8)
- Hip thrust: 3 x 6 to 8 (rest 90 seconds, RPE 8)
- Pallof press: 3 x 10 each side
Day 3
- Pogo jumps: 6 x 12 seconds (rest 60 seconds)
- Lateral bounds (more distance, still controlled): 5 x 3 each side (rest 90 seconds)
- Bulgarian split squat: 3 x 6 each side (rest 2 minutes, RPE 8)
- Hamstring curl (machine or sliders): 3 x 10 (rest 60 to 90 seconds)
- Hollow hold: 3 x 20 to 30 seconds
Week 3: Contrast work
Now we pair heavy strength with an explosive jump right after. This is called contrast training. It teaches your nervous system to recruit big force and then express it fast.
How to do it: perform the strength set, rest, then do the paired plyometric set. A common starting point is 90 to 180 seconds after the heavy set, but this is individual. If your jump feels flat, rest longer. If you feel snappy, keep it moving.
Contrast rest cheat code: your best rest time is the one that keeps your jump height consistent.
Day 1 (Squat + jump)
- A1. Back squat: 5 x 3 (heavy but clean, RPE 8 to 9)
- A2. Vertical jump: 5 x 2 (max intent, full reset each rep)
- Box jump (stick): 4 x 2 (rest 90 seconds)
- Romanian deadlift: 3 x 6 (rest 90 seconds, RPE 8)
- Seated calf raise: 3 x 12 (rest 60 seconds)
Day 2 (Hinge + broad)
- A1. Trap bar deadlift: 5 x 3 (RPE 8 to 9)
- A2. Broad jump: 5 x 2 (max intent, stick landing)
- Split squat jumps: 3 x 4 each side (rest 90 seconds)
- Hip thrust: 3 x 6 (rest 90 seconds, RPE 8)
- Side plank: 3 x 35 seconds each side
Day 3 (Reactive)
- Drop landing (step off a low box, absorb and stick): 4 x 3 (rest 90 seconds)
- Pogo jumps: 6 x 15 seconds (rest 60 seconds)
- Single-leg box step-up (drive knee up): 3 x 8 each side (rest 90 seconds)
- Single-leg RDL: 3 x 6 each side (rest 90 seconds)
- Dead bug: 3 x 10 each side
Week 4: Peak
This is where you cash the check. The goal is to feel springy, not smoked. We drop volume and keep intensity high.
Day 1
- Vertical jump: 6 x 2 (rest 90 to 150 seconds)
- Box jump (moderate height, perfect landings): 4 x 2 (rest 90 seconds)
- Back squat: 3 x 3 (stop 1 to 2 reps shy of a grind, RPE 7.5 to 8.5)
- Romanian deadlift: 2 x 6 (rest 90 seconds, RPE 7.5 to 8)
- Calf raise: 2 x 10
Day 2
- Broad jump: 6 x 2 (rest 90 to 150 seconds)
- Tuck jump: 3 x 3 (rest 90 seconds)
- Trap bar deadlift: 3 x 3 (rest 2 to 3 minutes, RPE 8)
- Hip thrust: 2 x 6 (rest 90 seconds, RPE 8)
- Pallof press: 2 x 10 each side
Day 3 (Test)
- Warm-up as written
- Test vertical: 8 to 10 total attempts, full rest (2 to 3+ minutes) between jumps
- Light accessories (optional): 2 x 8 split squats + 2 x 30 second planks
Technique cues
Jumping
- Arms matter: swing hard and time it with your hip drive.
- Dip, do not collapse: quick countermovement, chest proud, hips back.
- Triple extension: finish through hips, knees, and ankles like you are trying to jump through the ceiling.
Landing
- Quiet feet: loud landings are usually stiff landings.
- Knees track over toes: if they cave in, reduce height and fix it.
- Absorb with hips: think athletic stance, not upright stop.
Progress tracking
- Vertical test: use a wall touch, a rim, or a phone app. Test on Week 1 Day 1 and Week 4 Day 3.
- Training log: write down jump height or reach, plus how springy you felt.
- Video 2 reps: front and side angles once per week. Look for knee collapse, slow dip, or noisy landings.
Recovery and nutrition
I learned this the hard way as a player: you do not get explosive by living tired.
Recovery priorities
- Sleep: 7 to 9 hours. If you want more bounce, sleep is legal performance enhancement.
- Steps and light movement on off days to keep your legs fresh.
- Soft tissue work: calves, quads, glutes 5 to 10 minutes if you feel tight.
Nutrition basics
- Protein: aim for 0.7 to 1.0 grams per pound of bodyweight per day (about 1.6 to 2.2 g/kg). Adjust based on body size, goals, and appetite.
- Carbs around training: a banana, oats, rice, or potatoes help you actually jump hard.
- Hydration: cramps and heavy legs show up fast when you are under-hydrated.
Common mistakes
- Doing plyos when you are gassed: jumps go first in the workout, always.
- Chasing height on the box jump: the goal is explosive takeoff and a safe landing, not a circus trick.
- Too much volume: more jumps are not always better jumps. If height drops, shut it down.
- Ignoring the ankles: pogo work and calf strength are quiet difference-makers.
Easy scaling options
- If your knees or shins feel cranky, lower the box, cut jump reps by 20 to 30 percent, and keep landings crisp.
- If tuck jumps irritate you, swap them for snap-down to vertical jump (3 to 5 sets of 2) or keep them lower and faster.
- If you are sore from sport, reduce the strength work to 2 sets per lift and keep the jumps high quality.
After Week 4
If you improved and you stayed healthy, you have options:
- Repeat the plan with slightly higher boxes, longer bounds, or heavier strength numbers.
- Shift to a strength block for 4 to 6 weeks if you feel like your engine is the limiter.
- Maintain in-season: 1 to 2 short jump sessions per week, low volume, high quality.
If you take one thing from this: treat every jump rep like it is the last rep of a close game. Sharp, confident, and under control. That mindset is where inches come from.